A8: Final Project
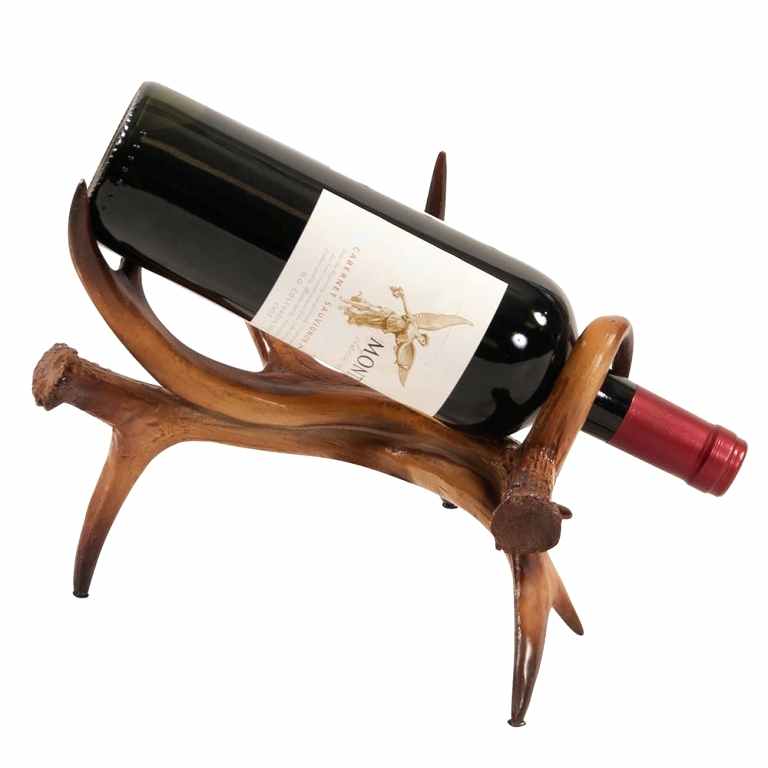
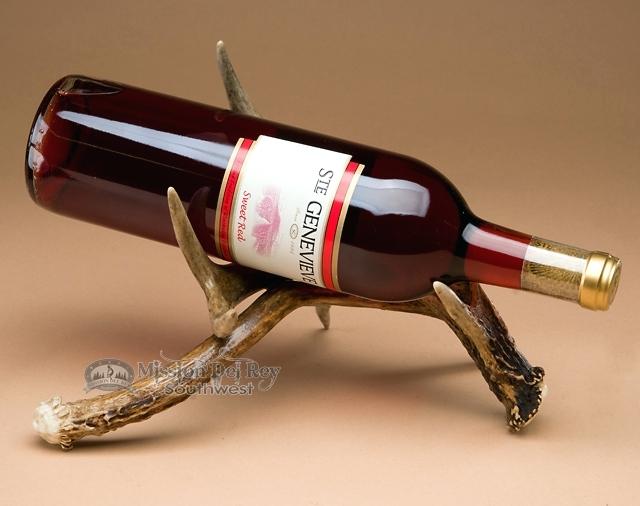
For the final project I have created a wine rack with attached wine glass holder. While looking for inspiration I found a cute wooden wine rack shaped like an elephant on pinterest. To incorporate all the techniques used in class I am adding glass holders to the rack.
Inspiration:


Bill of materials:
1. Plywood = Home Depot Link 2. 3D printer filament = Amazon Link 3. Glue = Home Depot Link 4. Hammer = Already availableModifications from original design:
1. In order to incorporate 4 different techniques studied in class, I decided to add wine glass holders to either side of the elephant’s ears. This step added a technique and also provided stability to the structure as I was using a thinner plywood as opposed to thicker wooden slab. 2. Along with this I modified the design to add 3D printed teeth that would be press fit on the lower side of elephant ears.Techniques used:
1. Laser cutting the wine bottle holder base. 2. Interlocking (pressfitting) the base of wine bottle holder entirely without the use of any glue. 3. Parametric CAD modelling of the elephant teeth. 4. 3D printing the teeth and wine glass holder.Implementation process:
Initial sketch: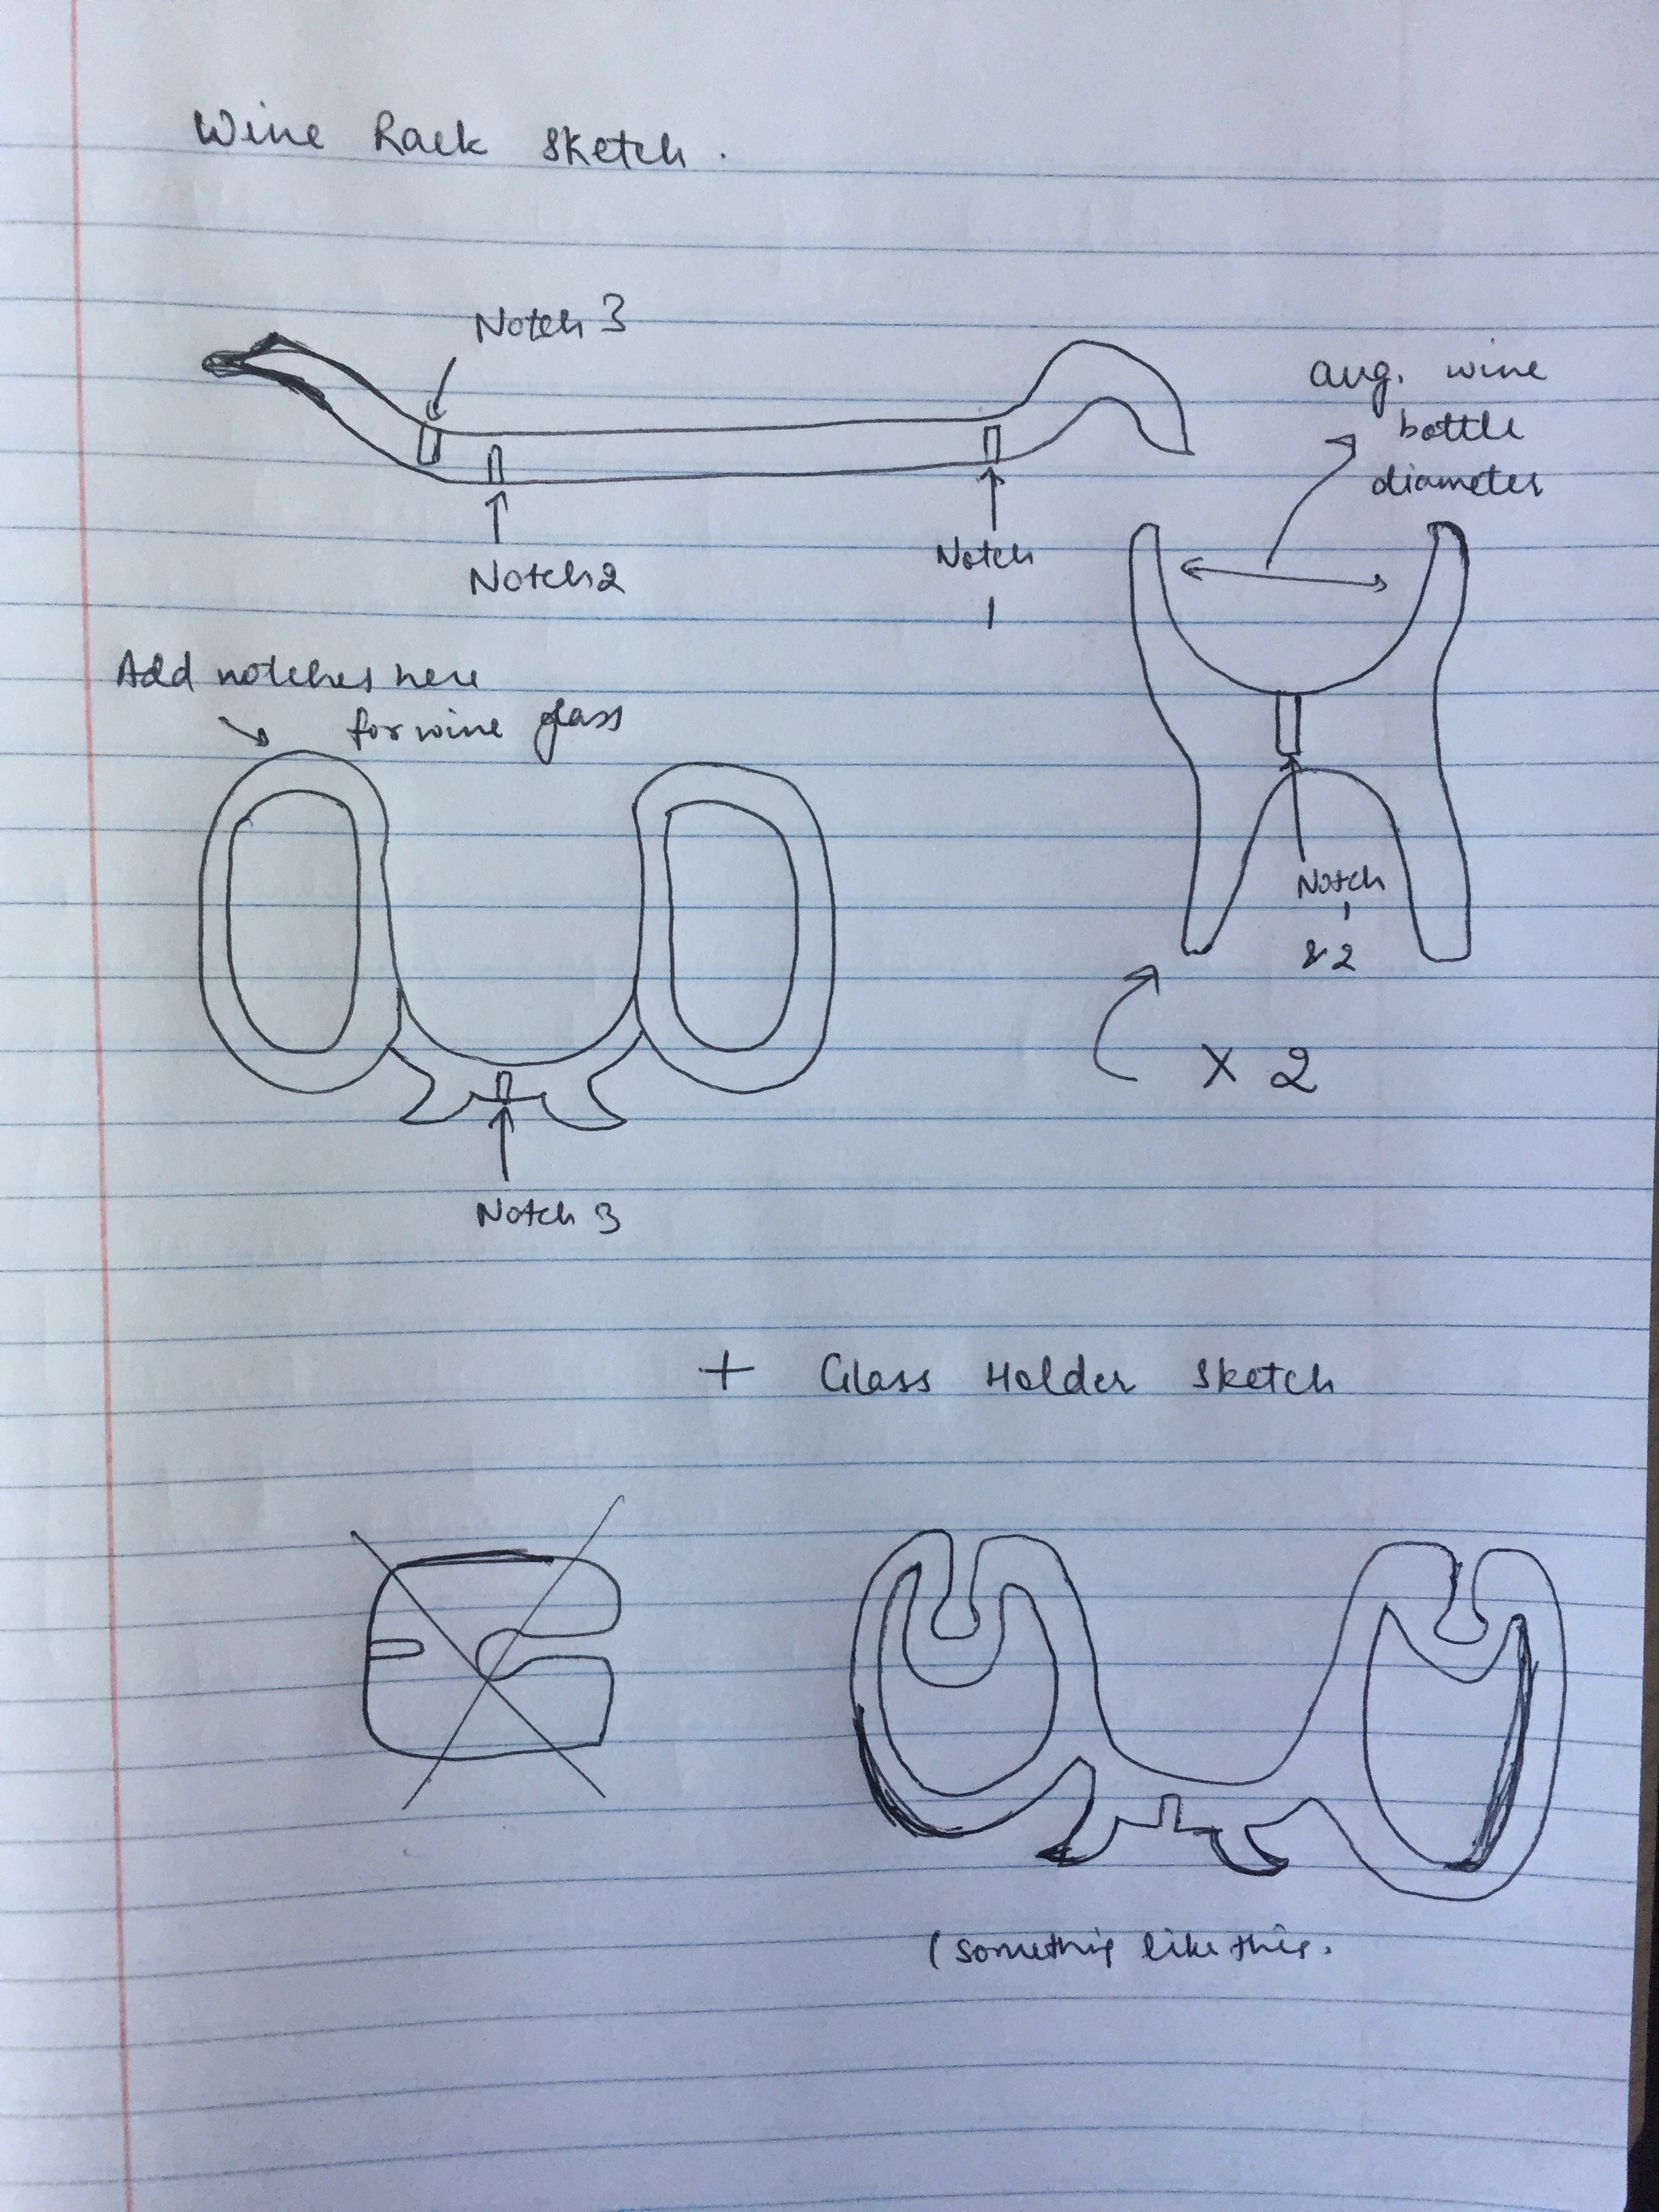 1. I started with designing the base of the wine rack in illustrator.
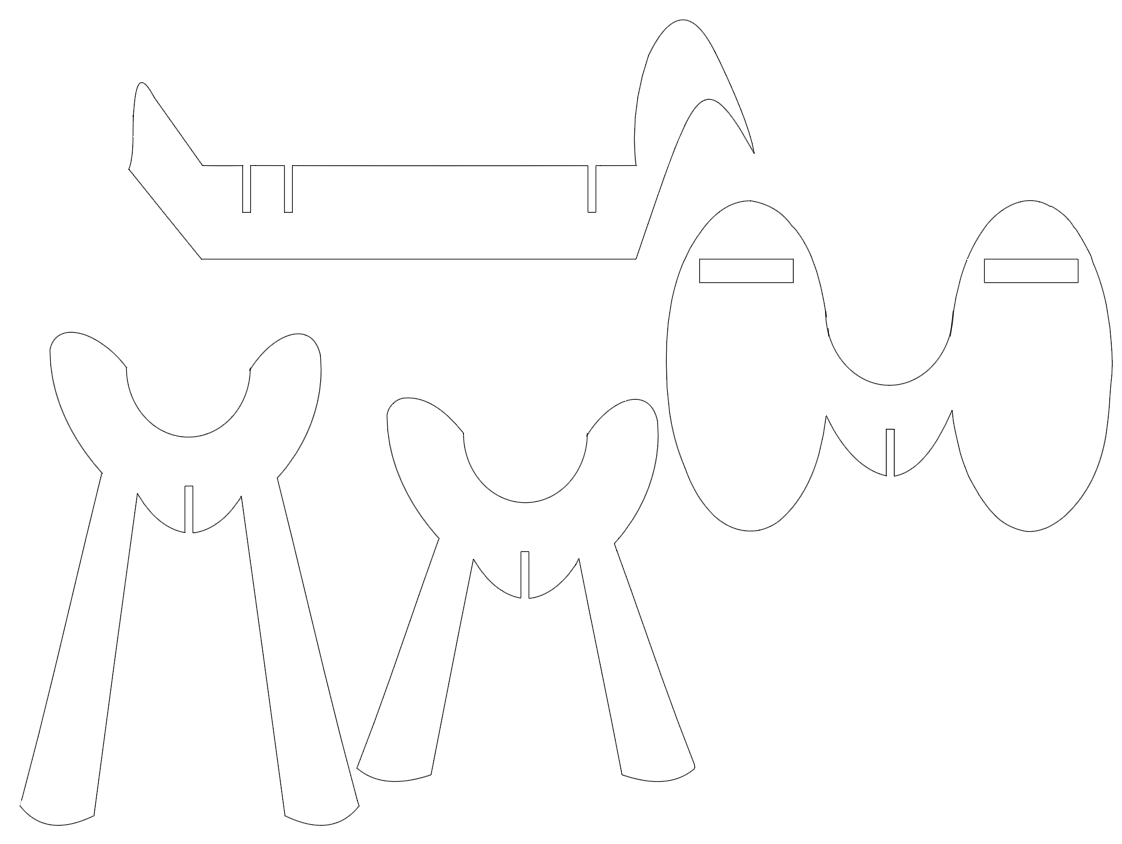
Base design in Illustrator:
1. I started with designing the base of the wine rack in illustrator.
Base design in Illustrator:
 2.The process for designing the rack went pretty smoothly and as per Nadya’s suggestion I started with piloting my laser cut using cardboard to look for structural stability. This was very helpful and it made me adjust the the legs at a lesser angle to make it more stable and also increase the height of the legs so the wine glasses do not touch ground when hung. So, I adjusted the length of the legs to incorporate the wine glasses plus a few more inches so that they have room and not break when hanging.
Cardboard prototype pic:
2.The process for designing the rack went pretty smoothly and as per Nadya’s suggestion I started with piloting my laser cut using cardboard to look for structural stability. This was very helpful and it made me adjust the the legs at a lesser angle to make it more stable and also increase the height of the legs so the wine glasses do not touch ground when hung. So, I adjusted the length of the legs to incorporate the wine glasses plus a few more inches so that they have room and not break when hanging.
Cardboard prototype pic:
 3. After making the modifications I went ahead with laser cutting my wine bottle holder base and things were going smooth until the laser cutter did its job and I found that some of the pieces did not get cut throughout and were still attached at the base due to the uneven thickness of the plywood used. So, I would not recommend using this piece of plywood.
Uneven laser cut pic:
3. After making the modifications I went ahead with laser cutting my wine bottle holder base and things were going smooth until the laser cutter did its job and I found that some of the pieces did not get cut throughout and were still attached at the base due to the uneven thickness of the plywood used. So, I would not recommend using this piece of plywood.
Uneven laser cut pic:
 4. Unable to remove the half cut pieces, I went ahead with laser cutting the remaining parts using the leftover good(even thickness) parts of the plywood. I was able to cut the remaining parts from the plywood scraps but the ears show a slight cut from the previous half cut. As I didn’t have another plywood I used the parts I had already cut even though they didn’t have perfect edges.
5. After this, I moved on to designing elephant teeth that would be 3D printed later on. I created the shape in Rhino using grasshopper to incorporate another technique. When I exported the STL file, somehow the dimensions got changed and I ended up with 1.5” long teeth instead of 4.5”.
6. I resized the teeth in rhino and also changed the thickness as I figured it would be difficult to press fit heavier teeth if inserted down up onto the ears base. This time it worked out fine and I had two perfect pieces of golden elephant teeth.
Pic of final teeth:
4. Unable to remove the half cut pieces, I went ahead with laser cutting the remaining parts using the leftover good(even thickness) parts of the plywood. I was able to cut the remaining parts from the plywood scraps but the ears show a slight cut from the previous half cut. As I didn’t have another plywood I used the parts I had already cut even though they didn’t have perfect edges.
5. After this, I moved on to designing elephant teeth that would be 3D printed later on. I created the shape in Rhino using grasshopper to incorporate another technique. When I exported the STL file, somehow the dimensions got changed and I ended up with 1.5” long teeth instead of 4.5”.
6. I resized the teeth in rhino and also changed the thickness as I figured it would be difficult to press fit heavier teeth if inserted down up onto the ears base. This time it worked out fine and I had two perfect pieces of golden elephant teeth.
Pic of final teeth:
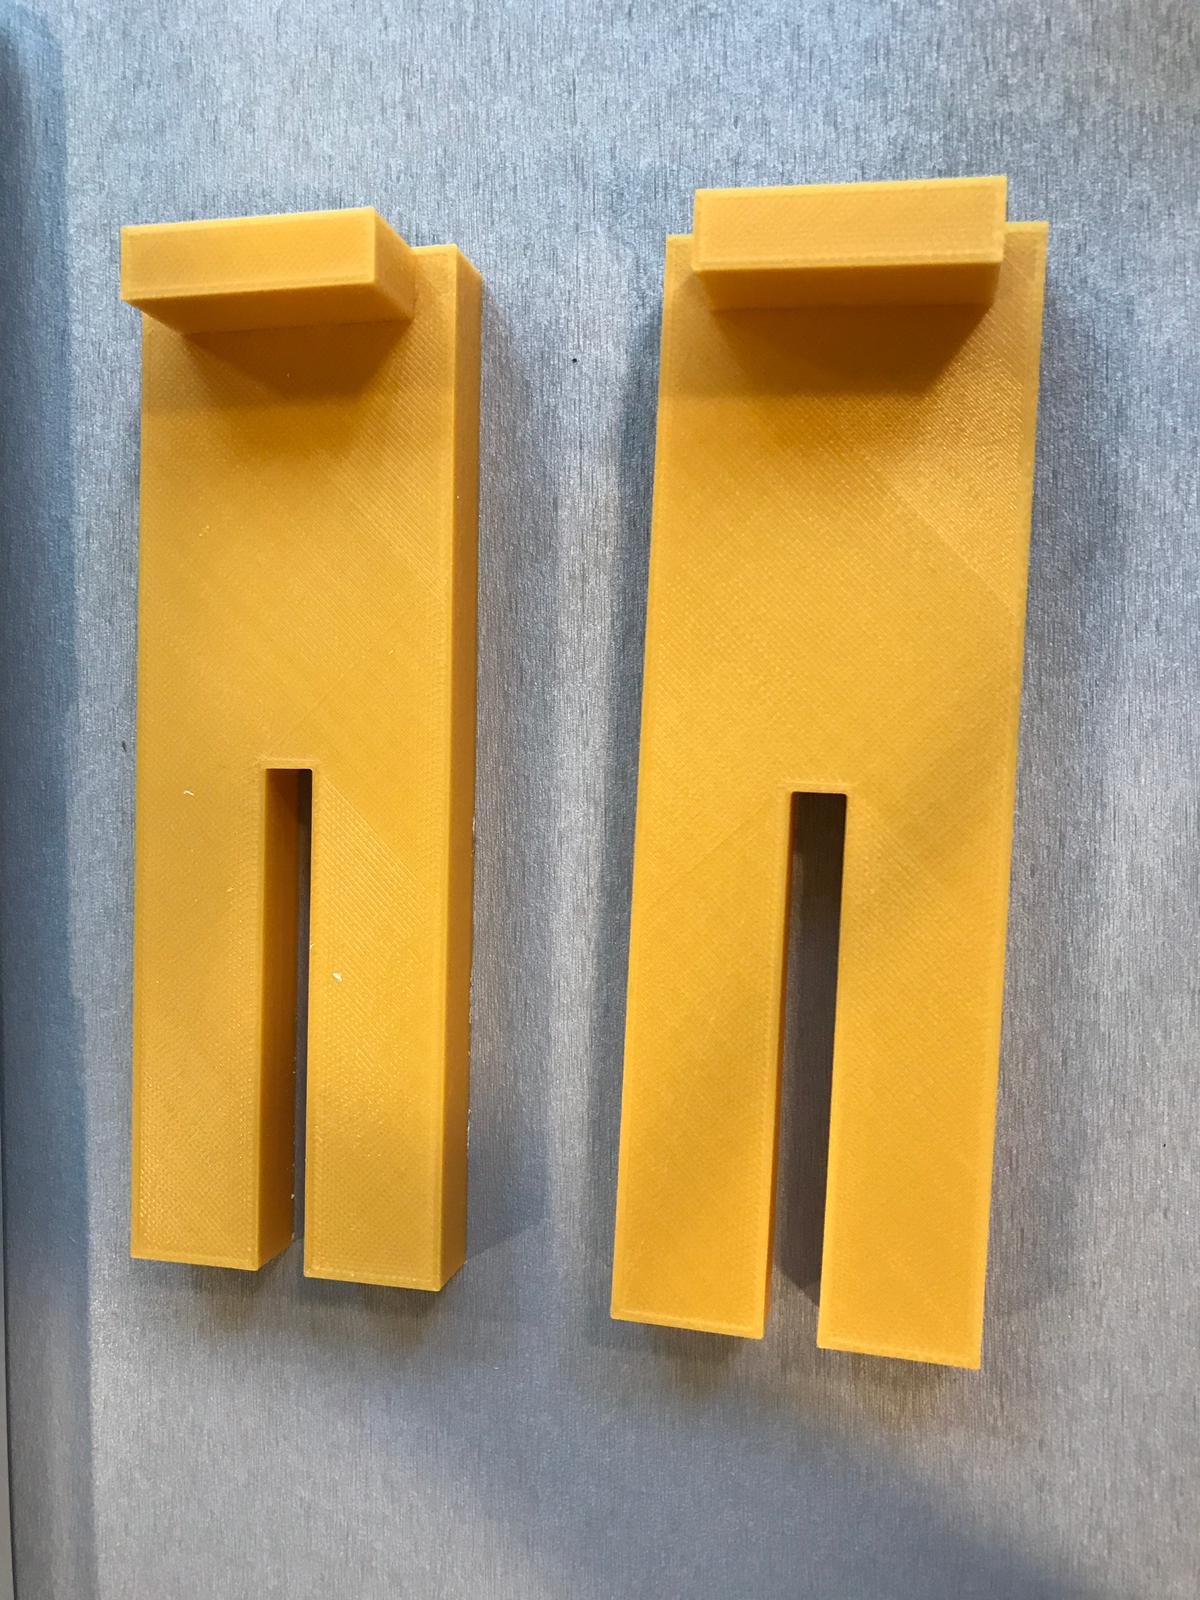
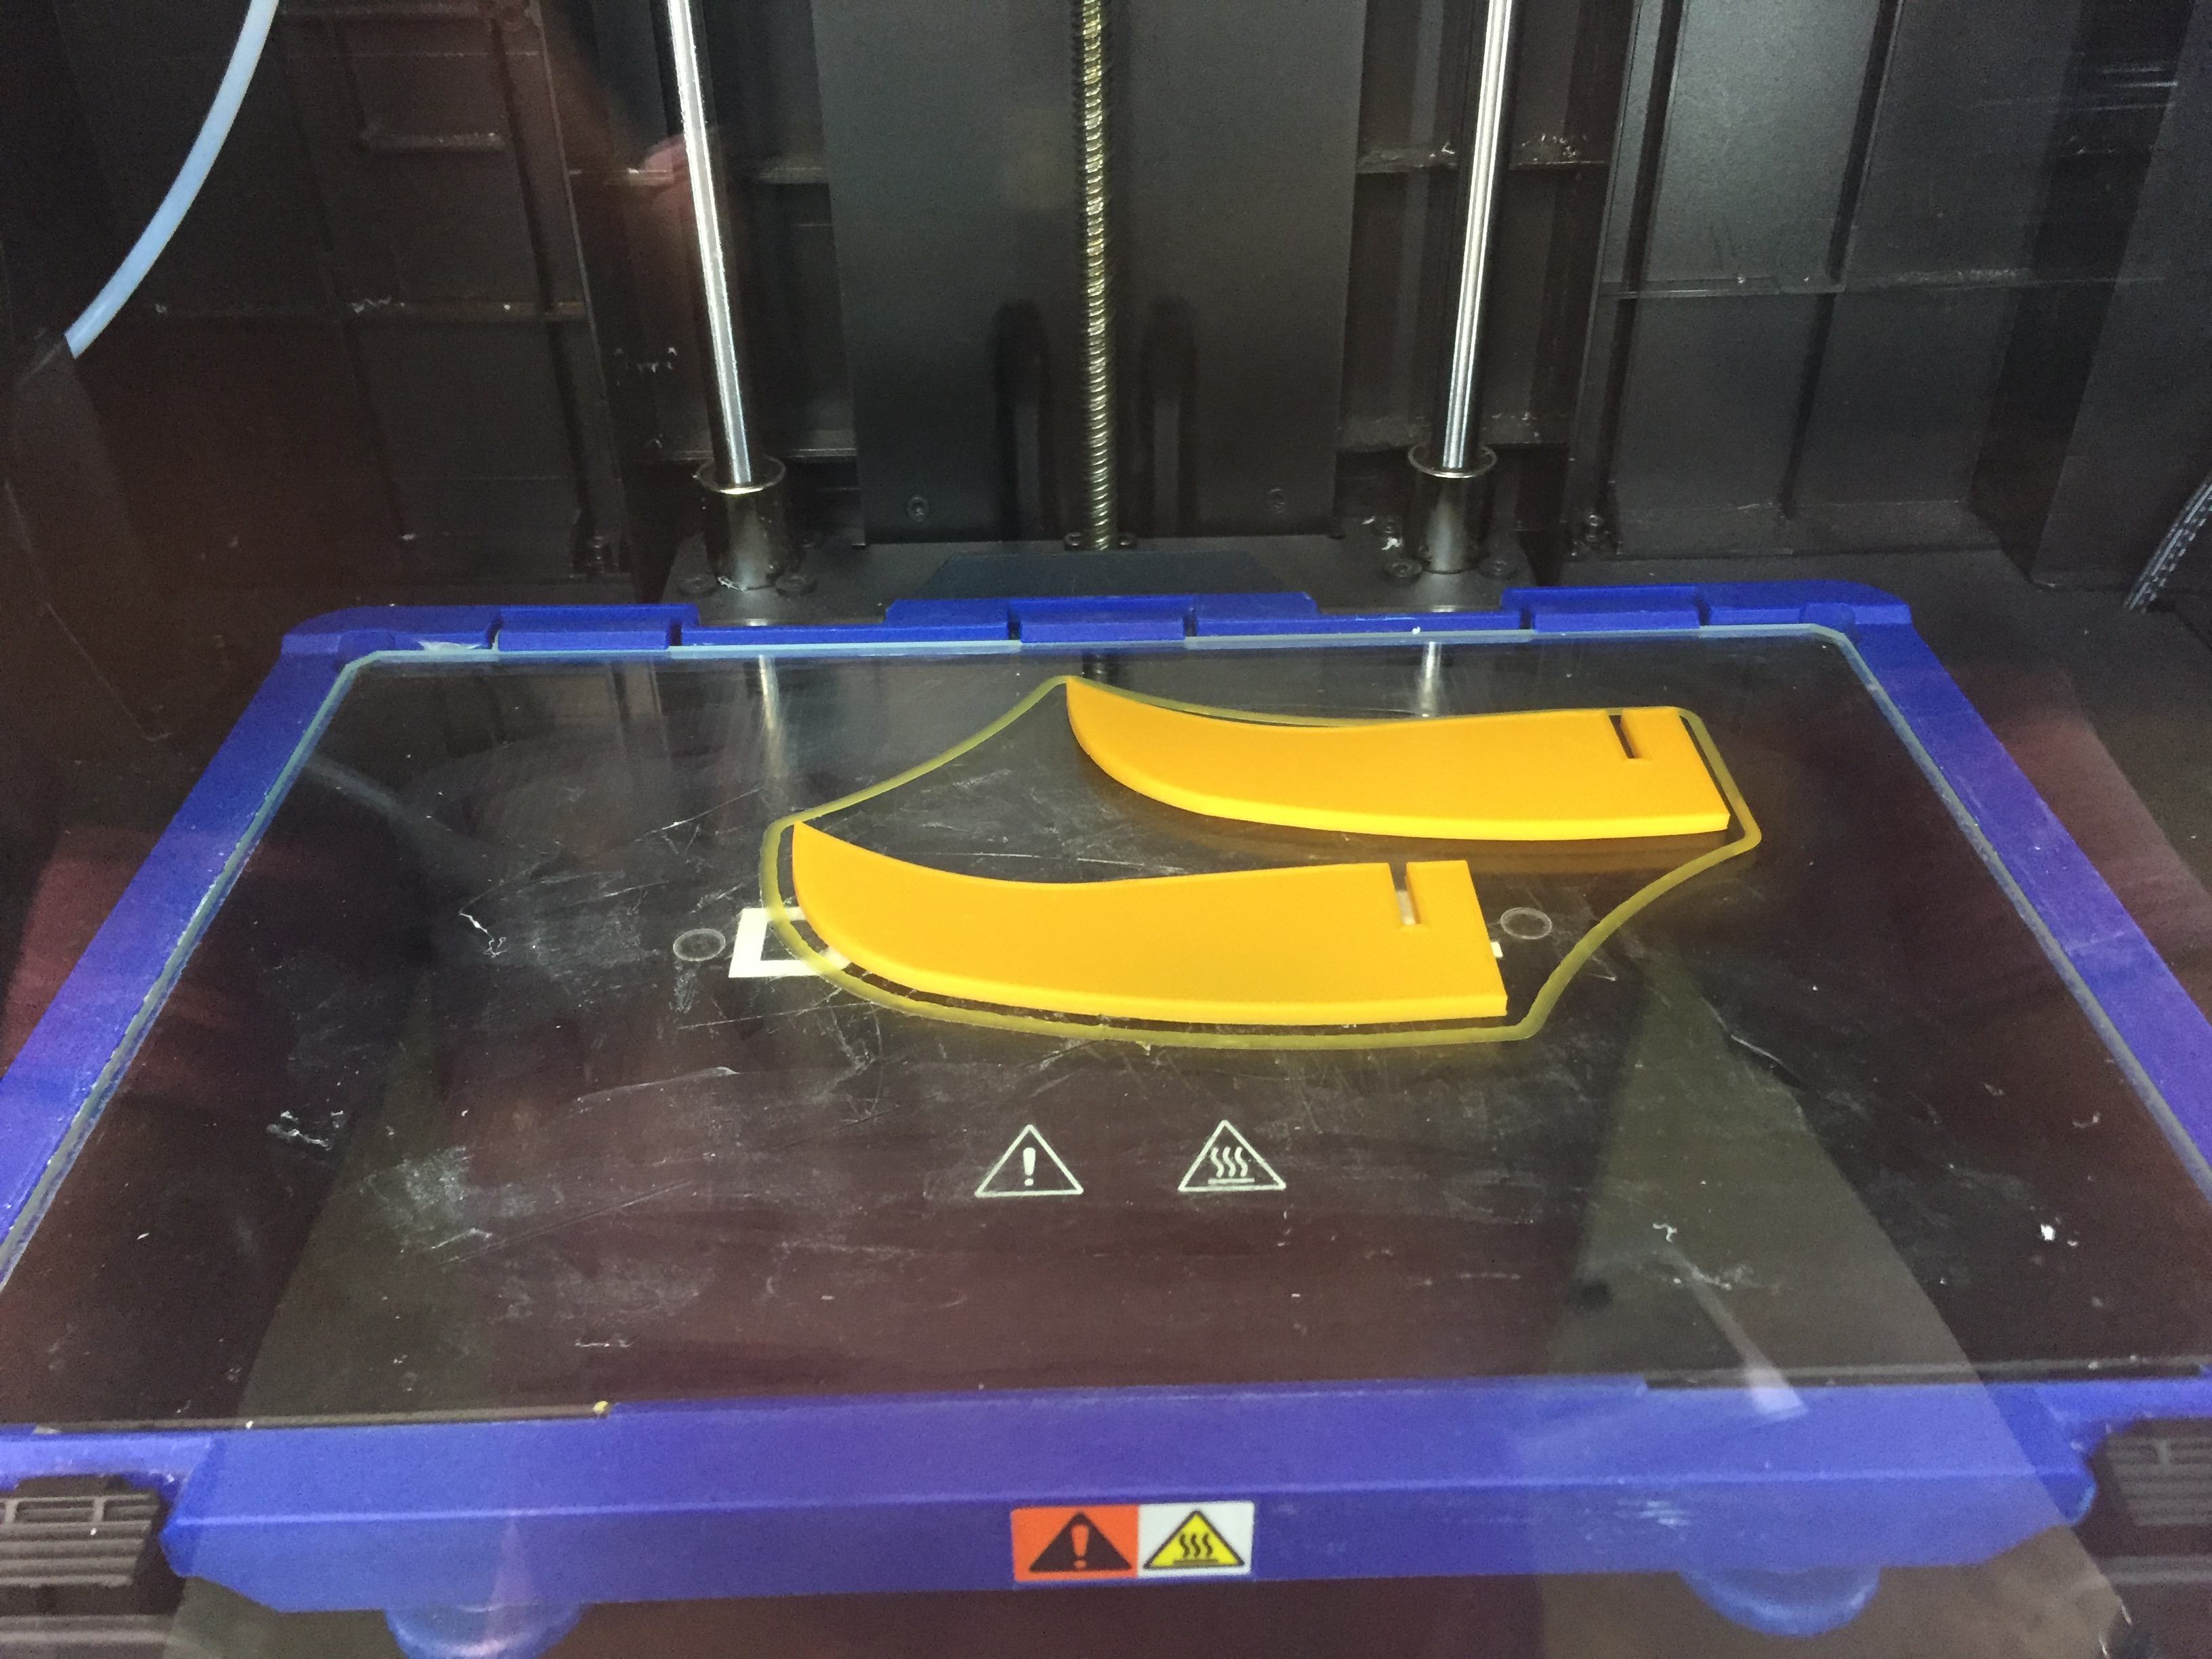 7. Next, I moved on to designing the wine glass holder, I designed the holder using Rhino. The length of the holder was kept 6” long and 2” wide. The slot was made in the ear such that the holder would slide into the gap smoothly, but won’t be too loose. So I made the dimensions on the laser cut gap a little larger than the 3D cut part. This step was based on the learnings in the class, specifically the CNC milling assignment.
3D printed holder pic:
7. Next, I moved on to designing the wine glass holder, I designed the holder using Rhino. The length of the holder was kept 6” long and 2” wide. The slot was made in the ear such that the holder would slide into the gap smoothly, but won’t be too loose. So I made the dimensions on the laser cut gap a little larger than the 3D cut part. This step was based on the learnings in the class, specifically the CNC milling assignment.
3D printed holder pic:
 8. As all the parts were ready now, I struggled a bit to press fit the plywood parts, so I sand down the notches a little and with the use of a hammer the locks are fit perfectly. In the process of press fitting the legs and ears, I broke the tail by accidently hitting it with the hammer. So I glued the tail to the base.
9. Also, I wanted a secure holder, so I ended up gluing all the ears and teeth to the base as well.
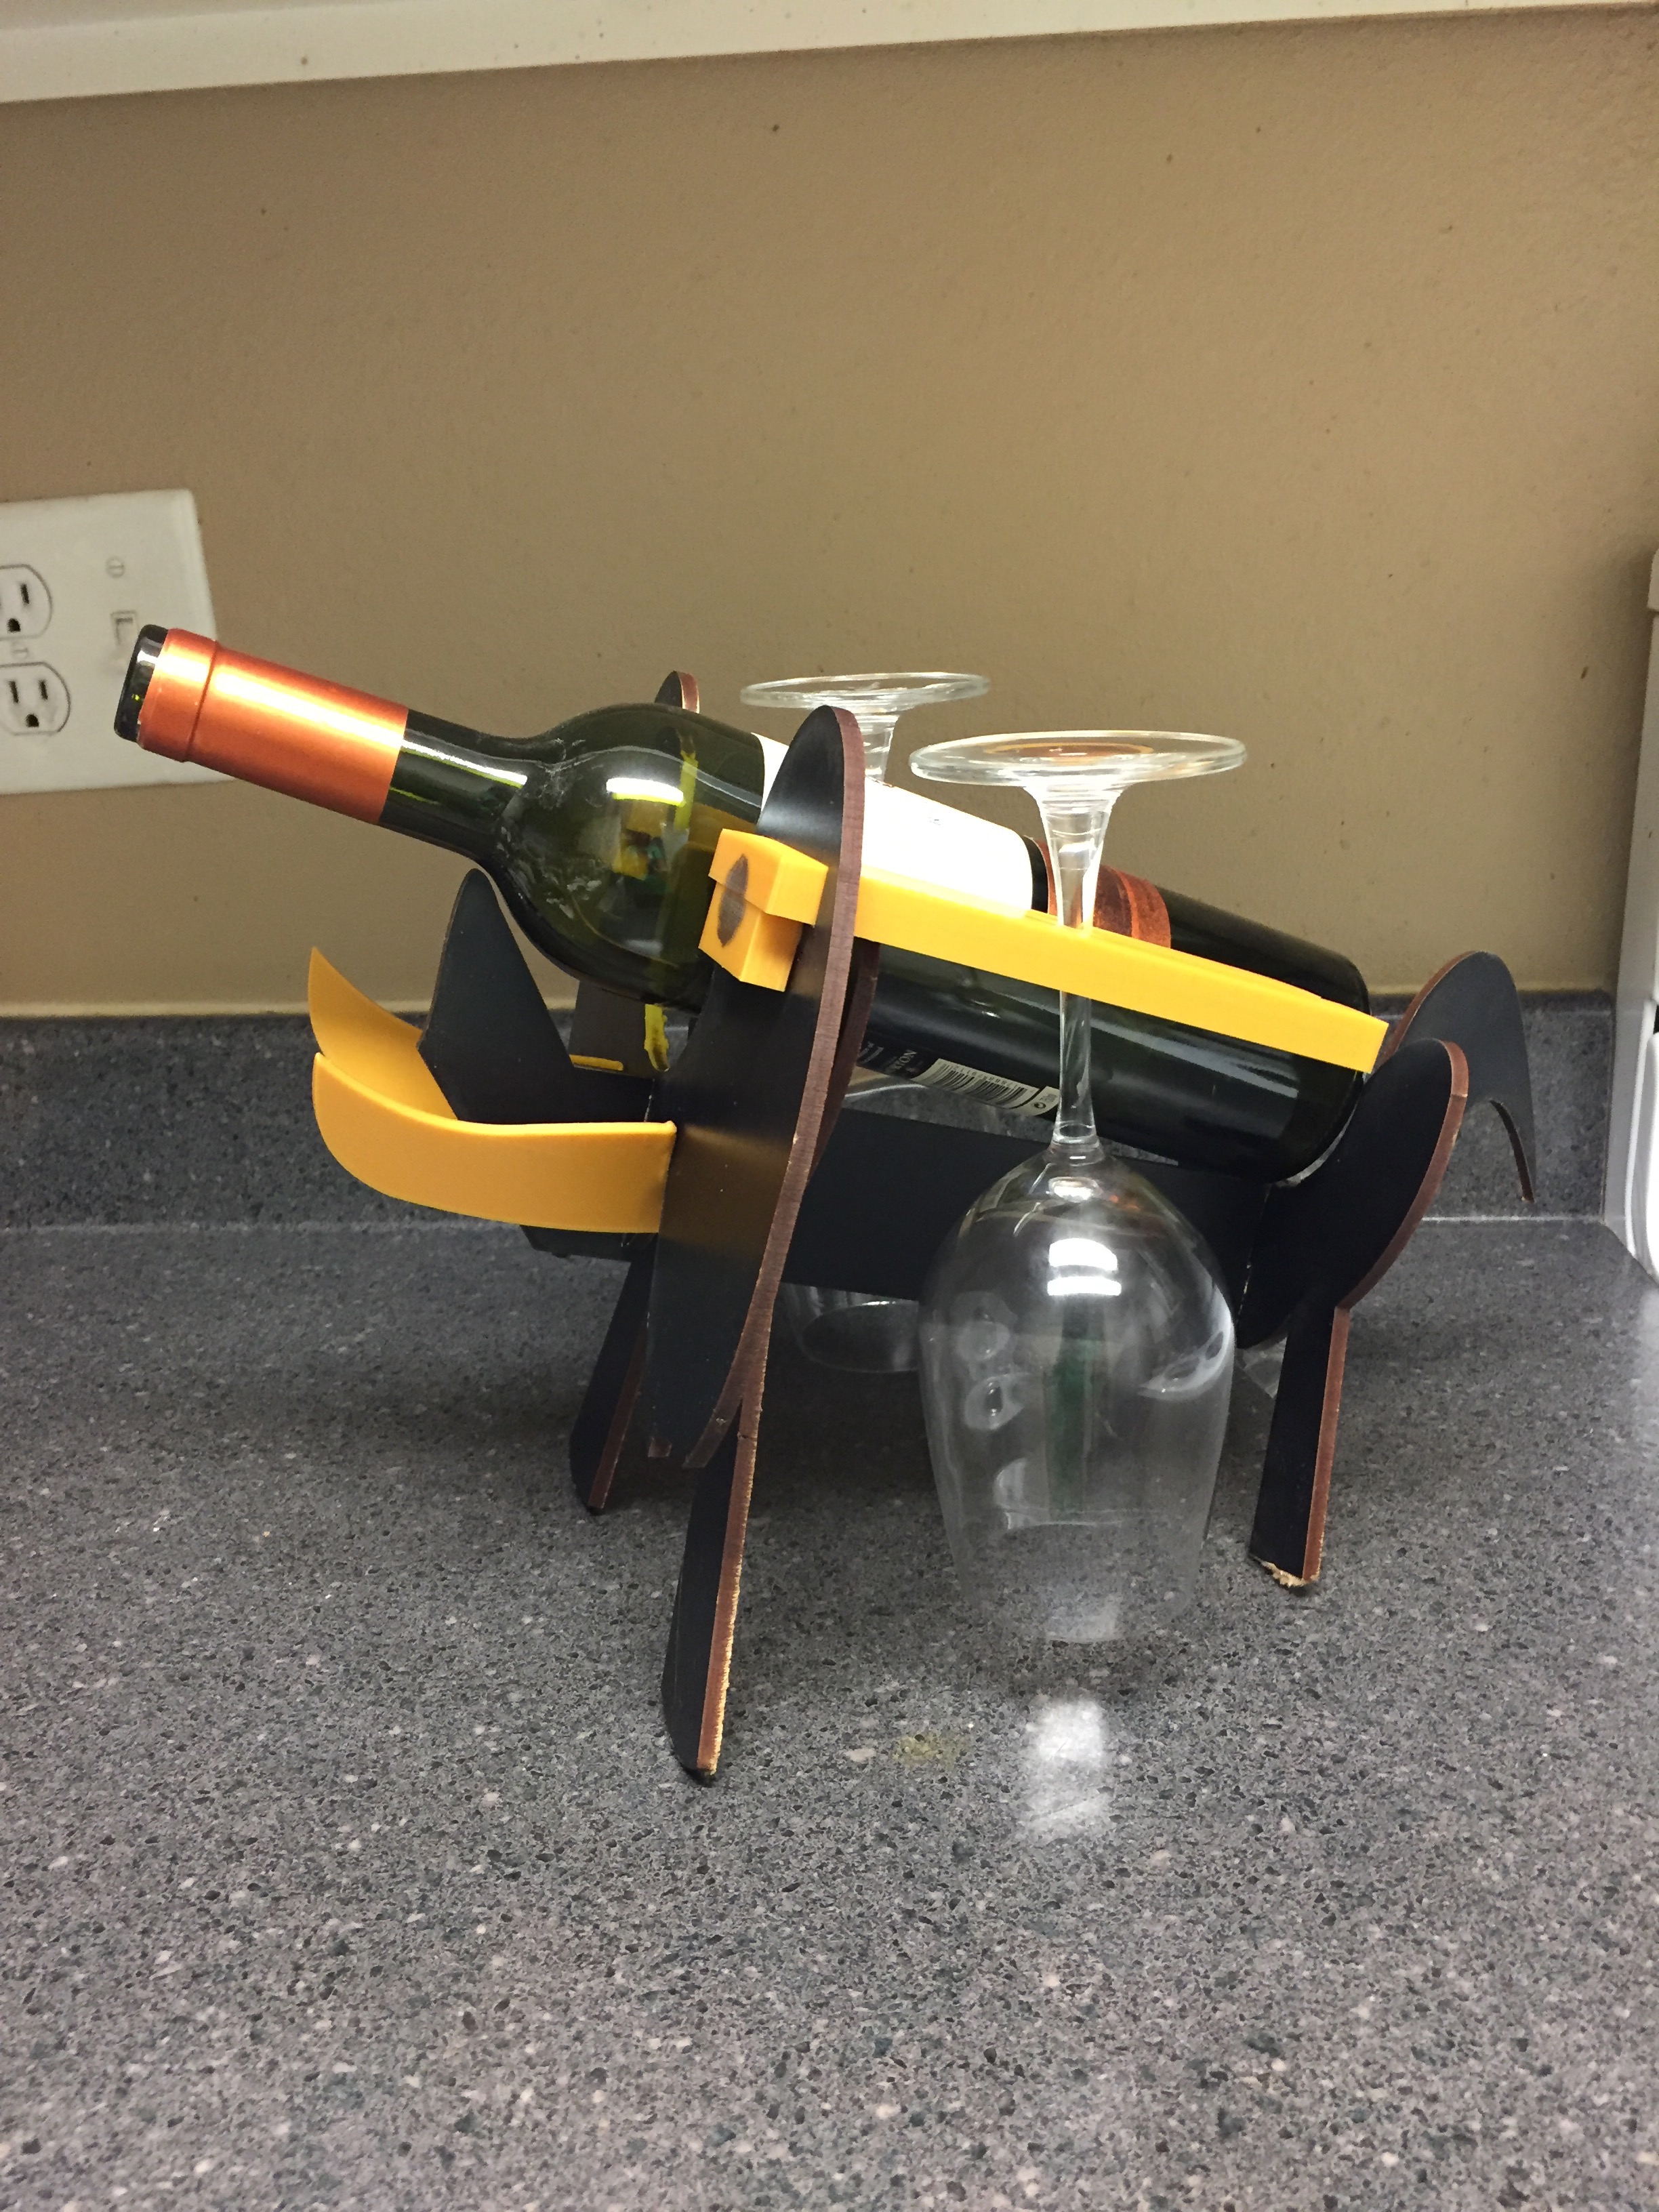
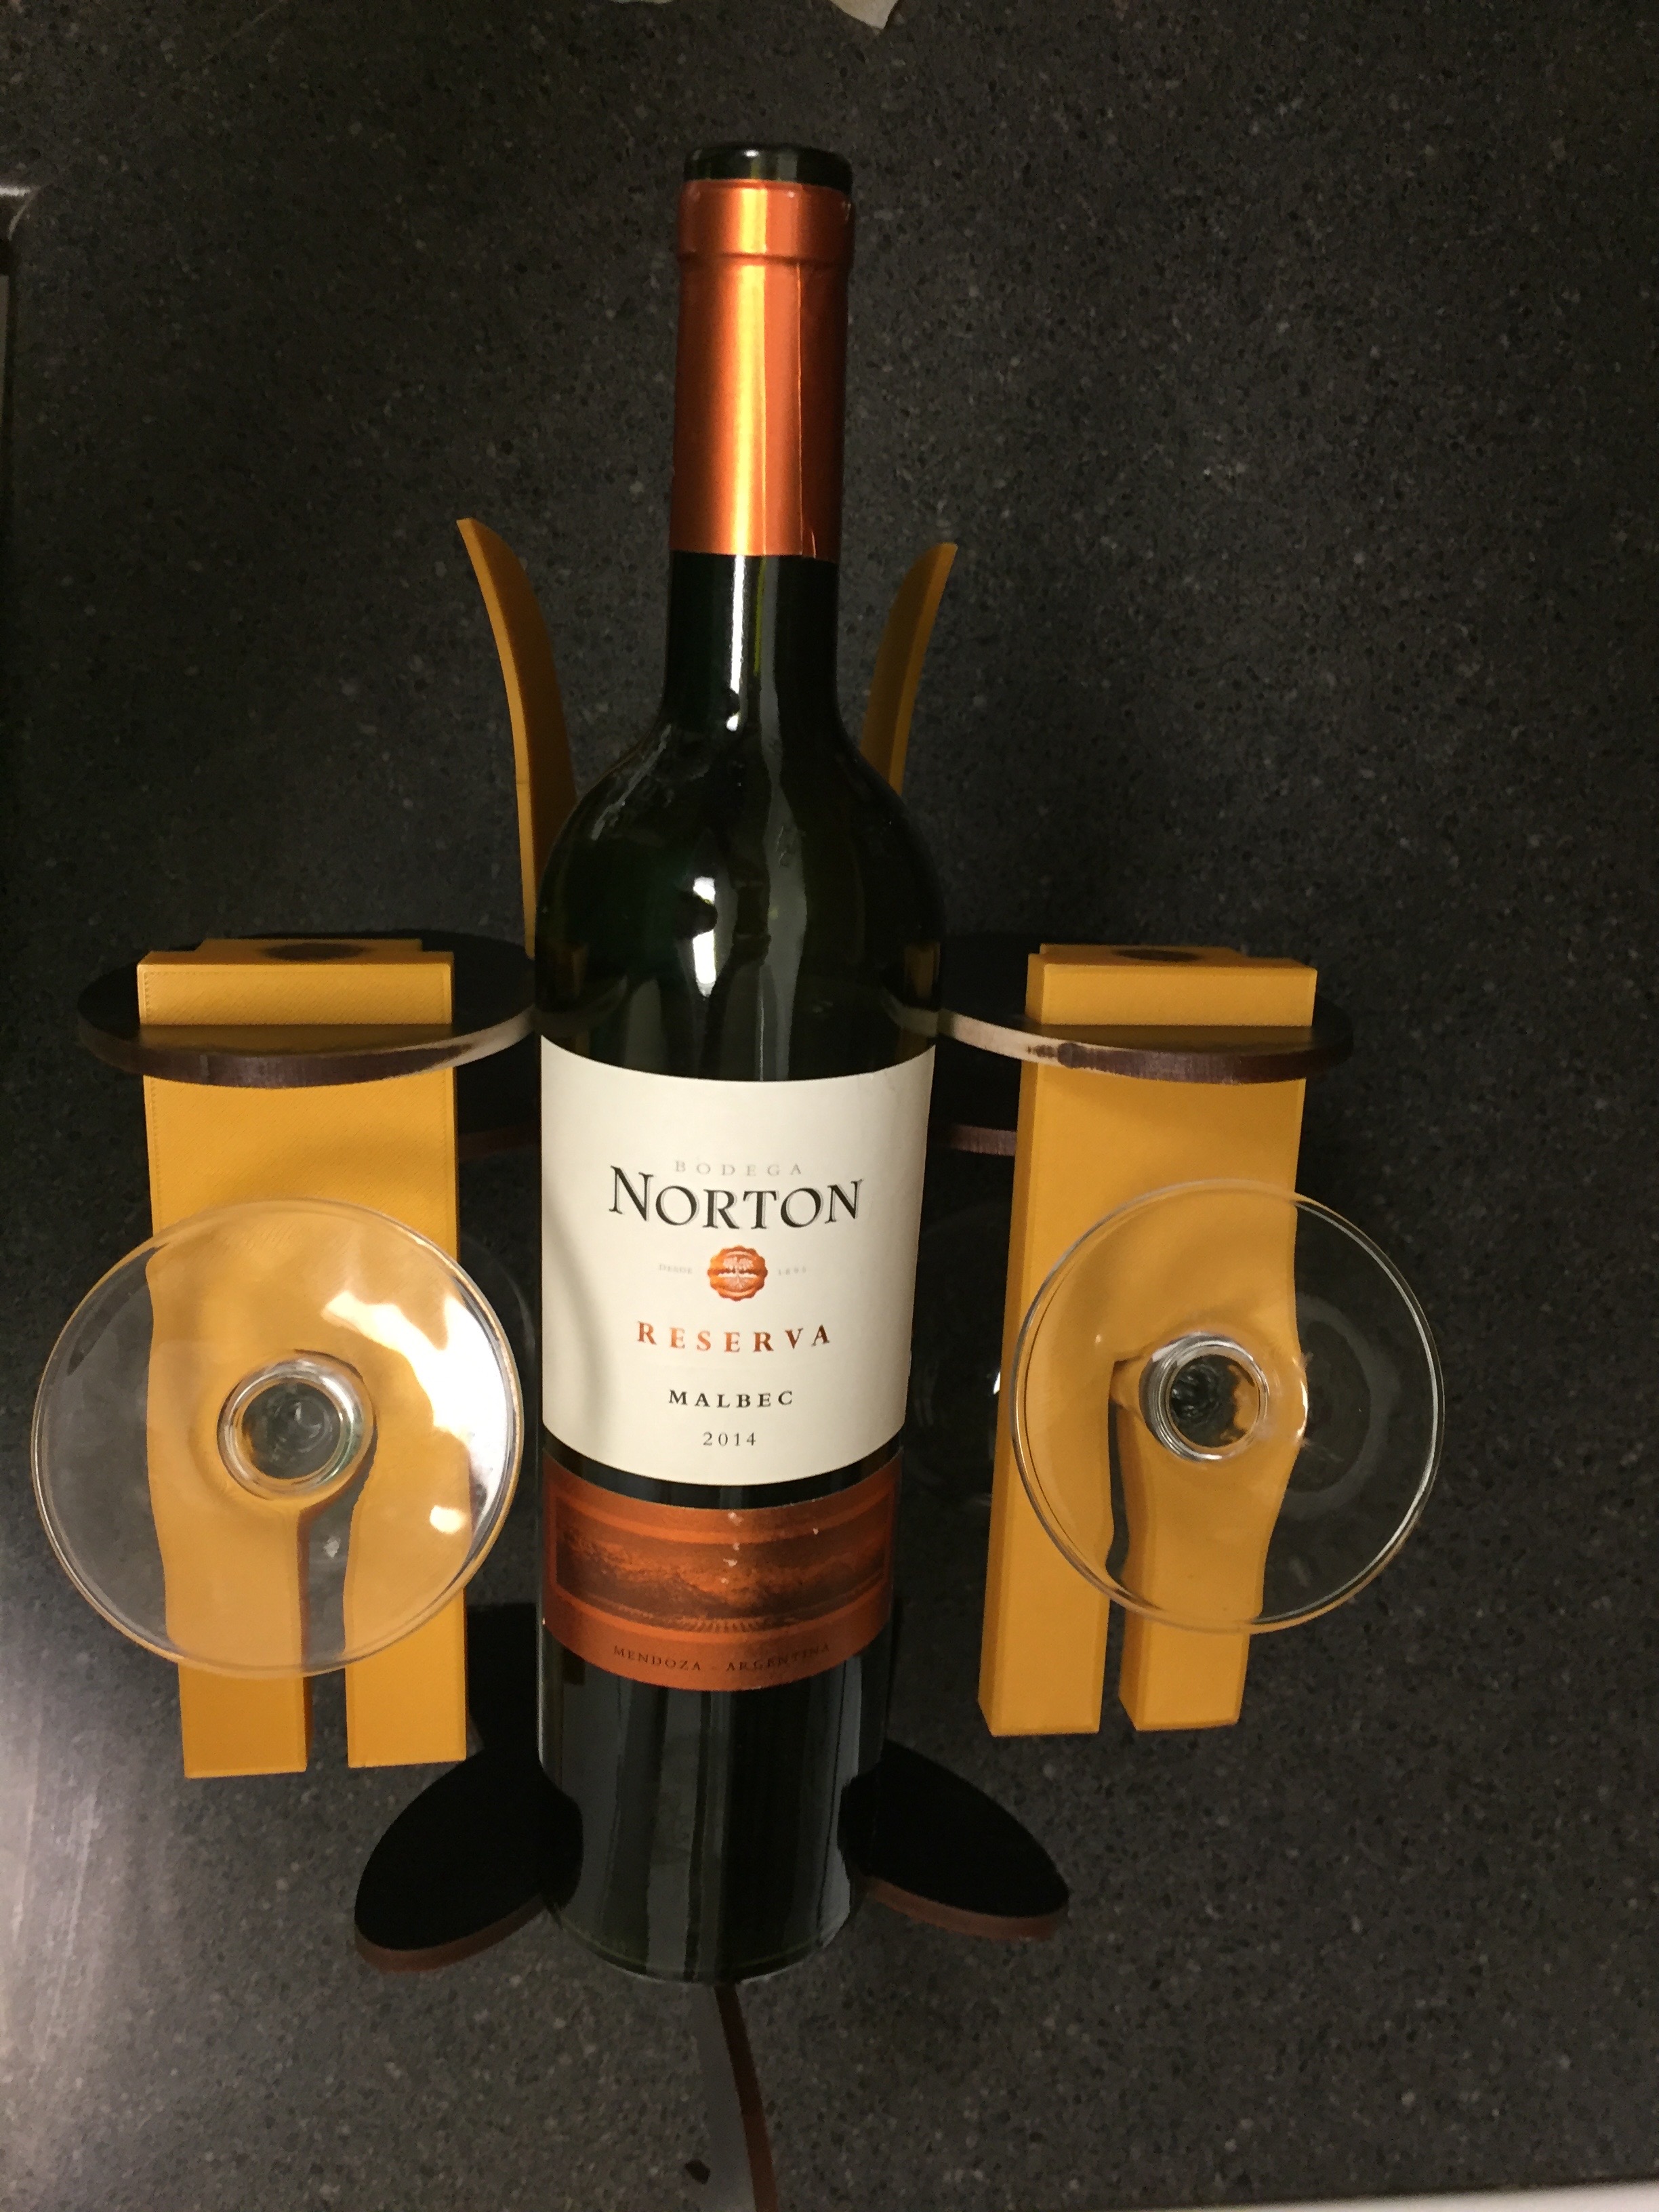
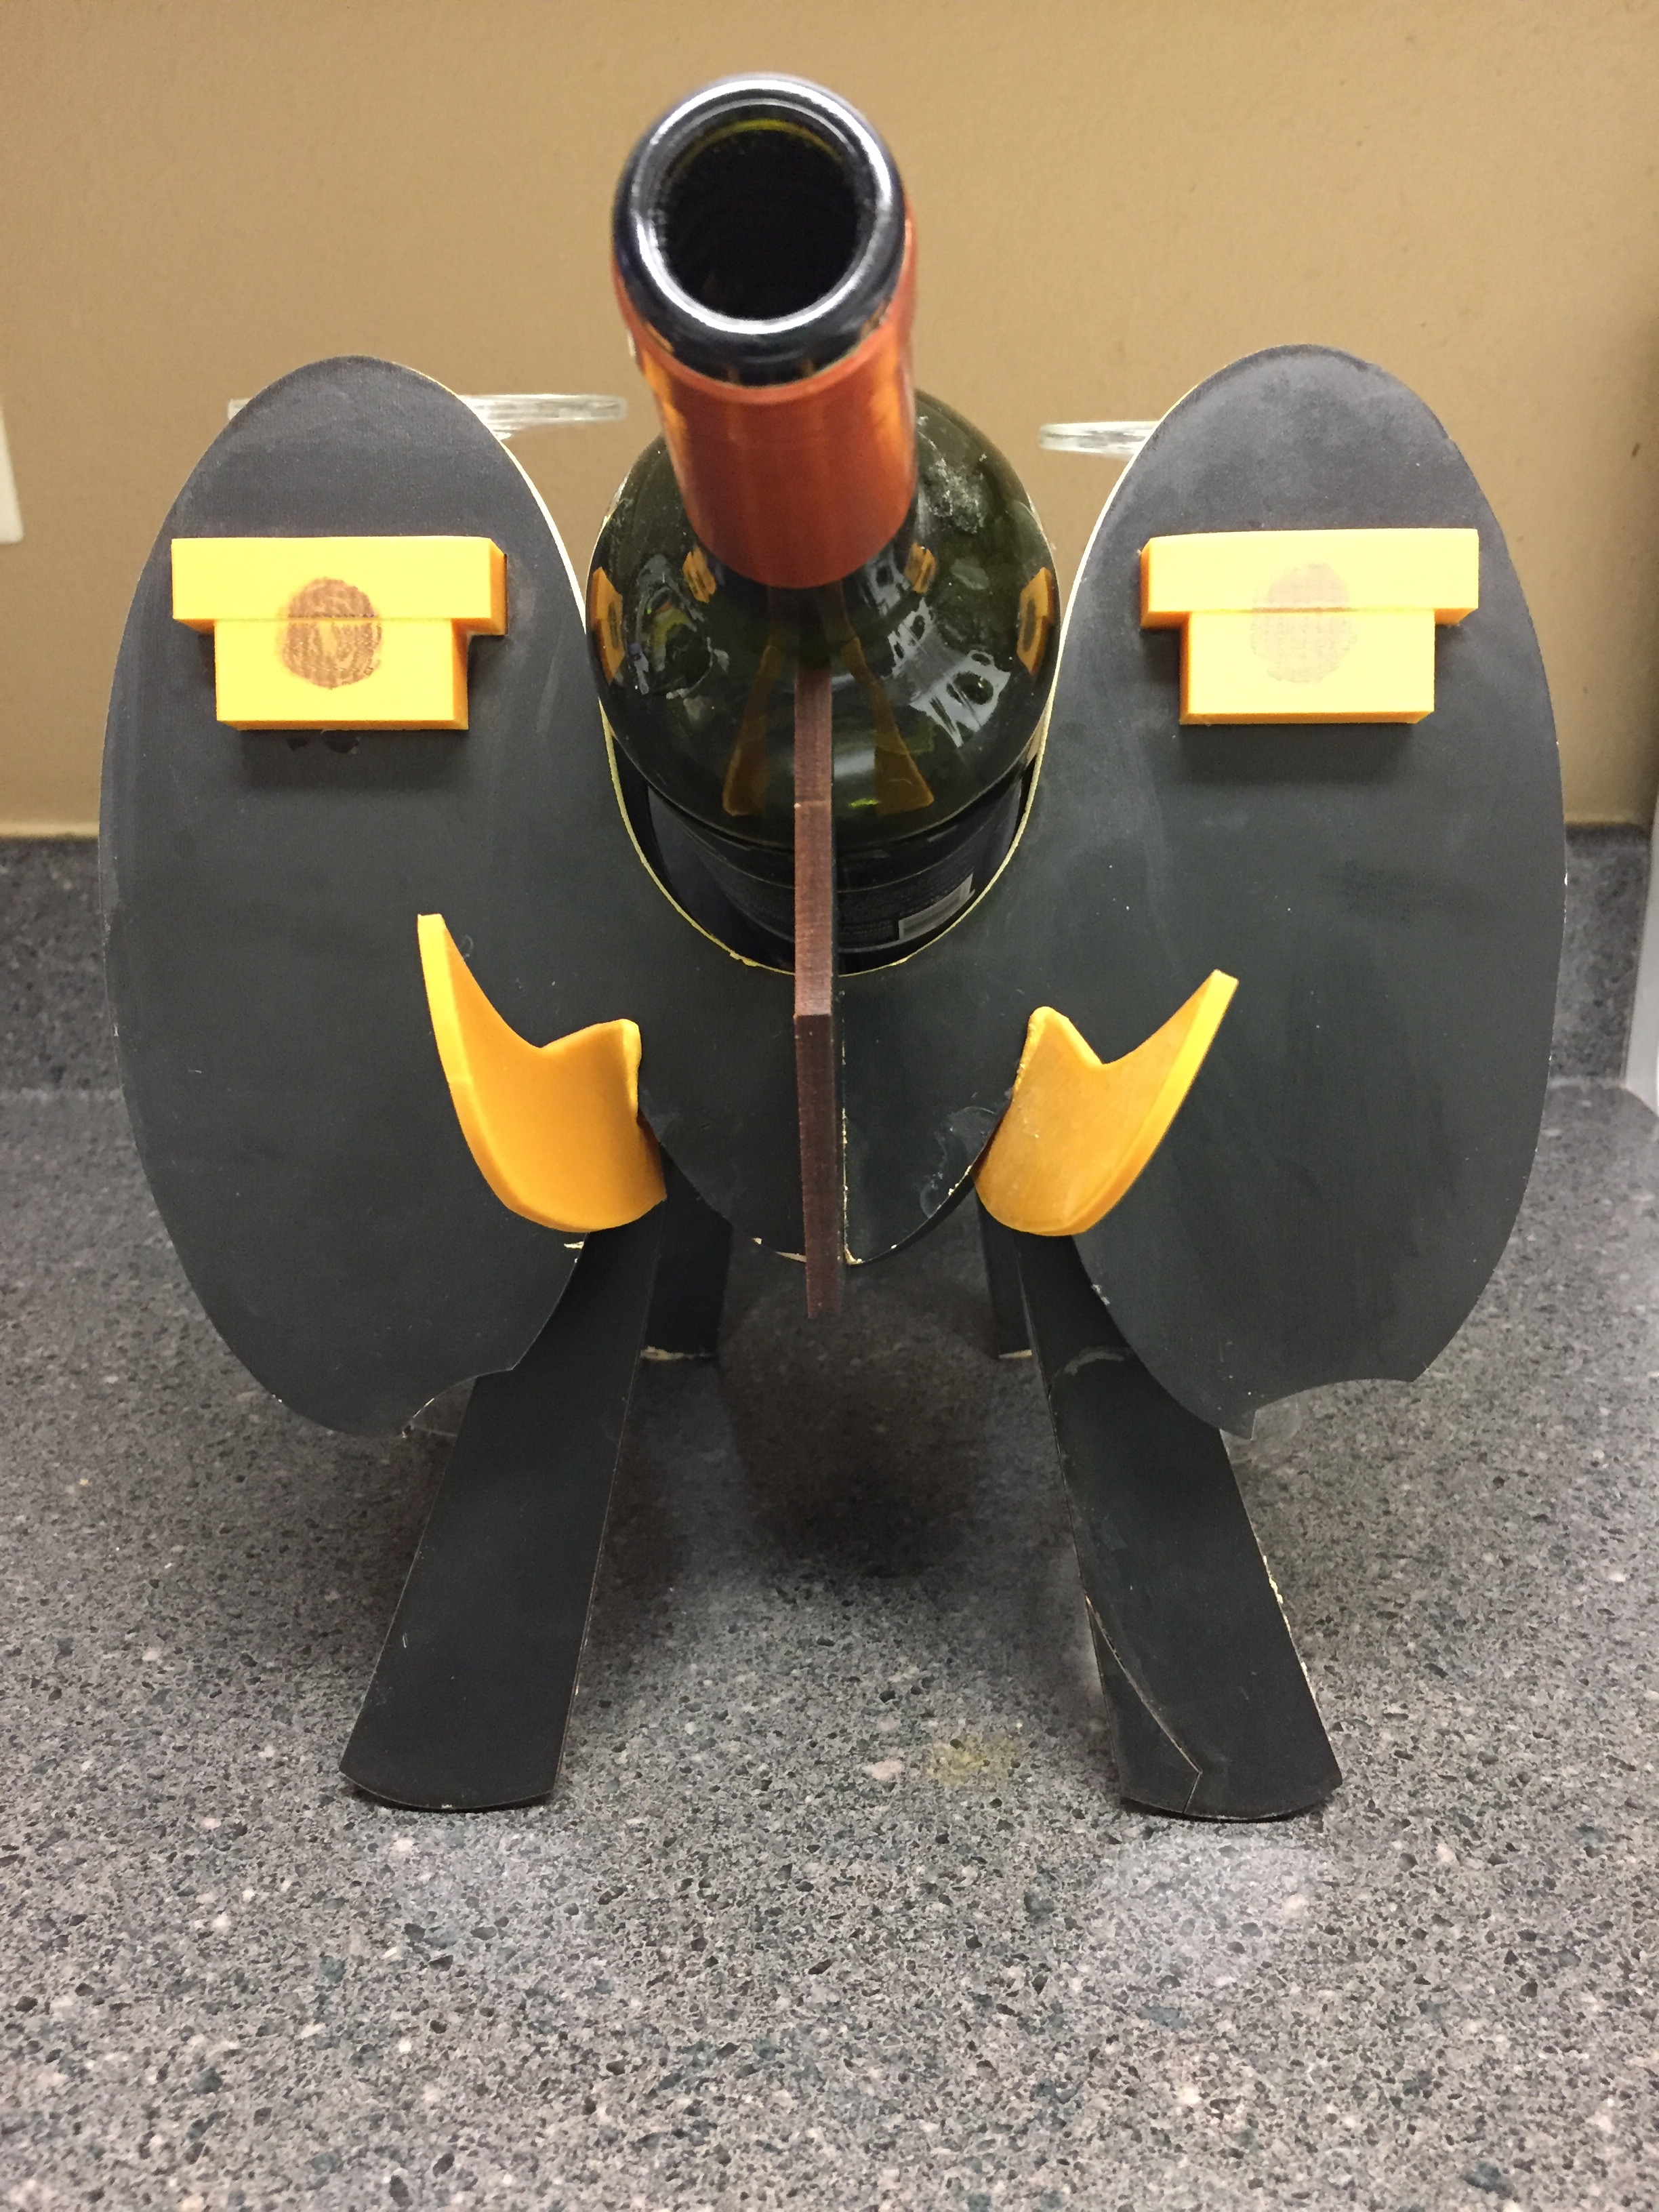
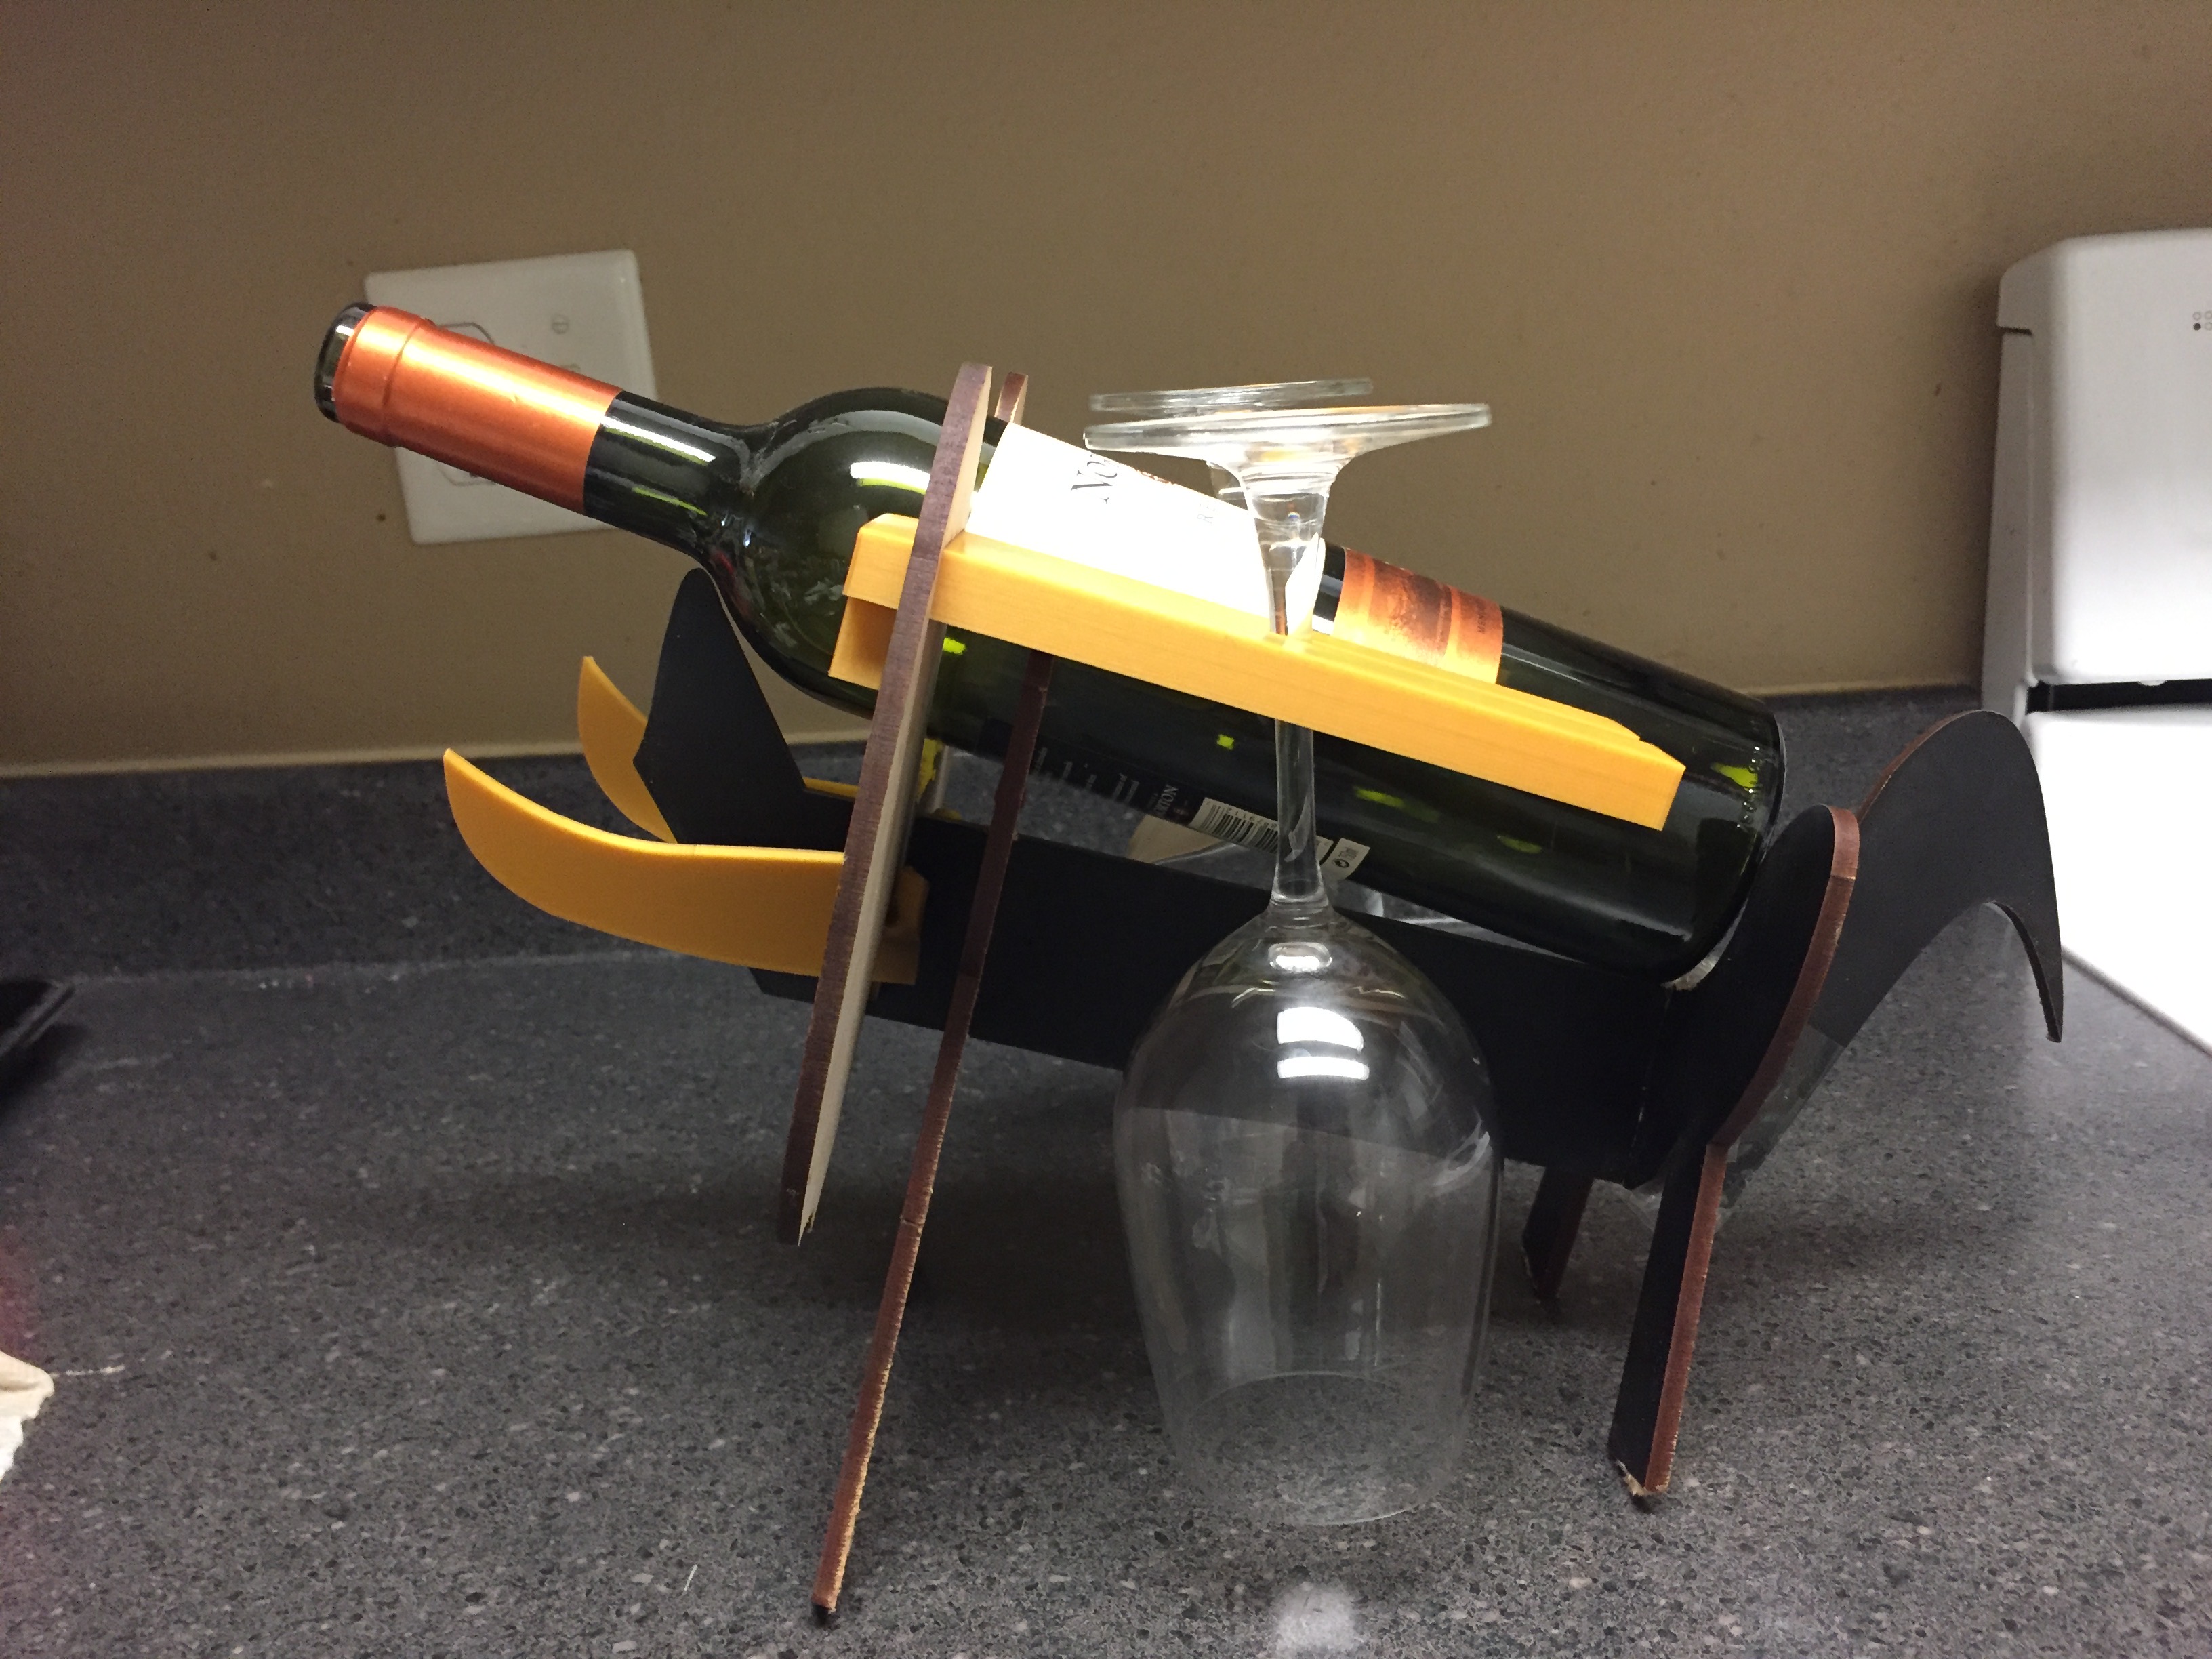
10. Final results is even better than I had expected. It securely holds wine bottle and the wine glasses don’t slip out of the notches due to friction between glass and holder.
Final pics:
8. As all the parts were ready now, I struggled a bit to press fit the plywood parts, so I sand down the notches a little and with the use of a hammer the locks are fit perfectly. In the process of press fitting the legs and ears, I broke the tail by accidently hitting it with the hammer. So I glued the tail to the base.
9. Also, I wanted a secure holder, so I ended up gluing all the ears and teeth to the base as well.
10. Final results is even better than I had expected. It securely holds wine bottle and the wine glasses don’t slip out of the notches due to friction between glass and holder.
Final pics: