A5: Subtractive Fabrication and CNC milling
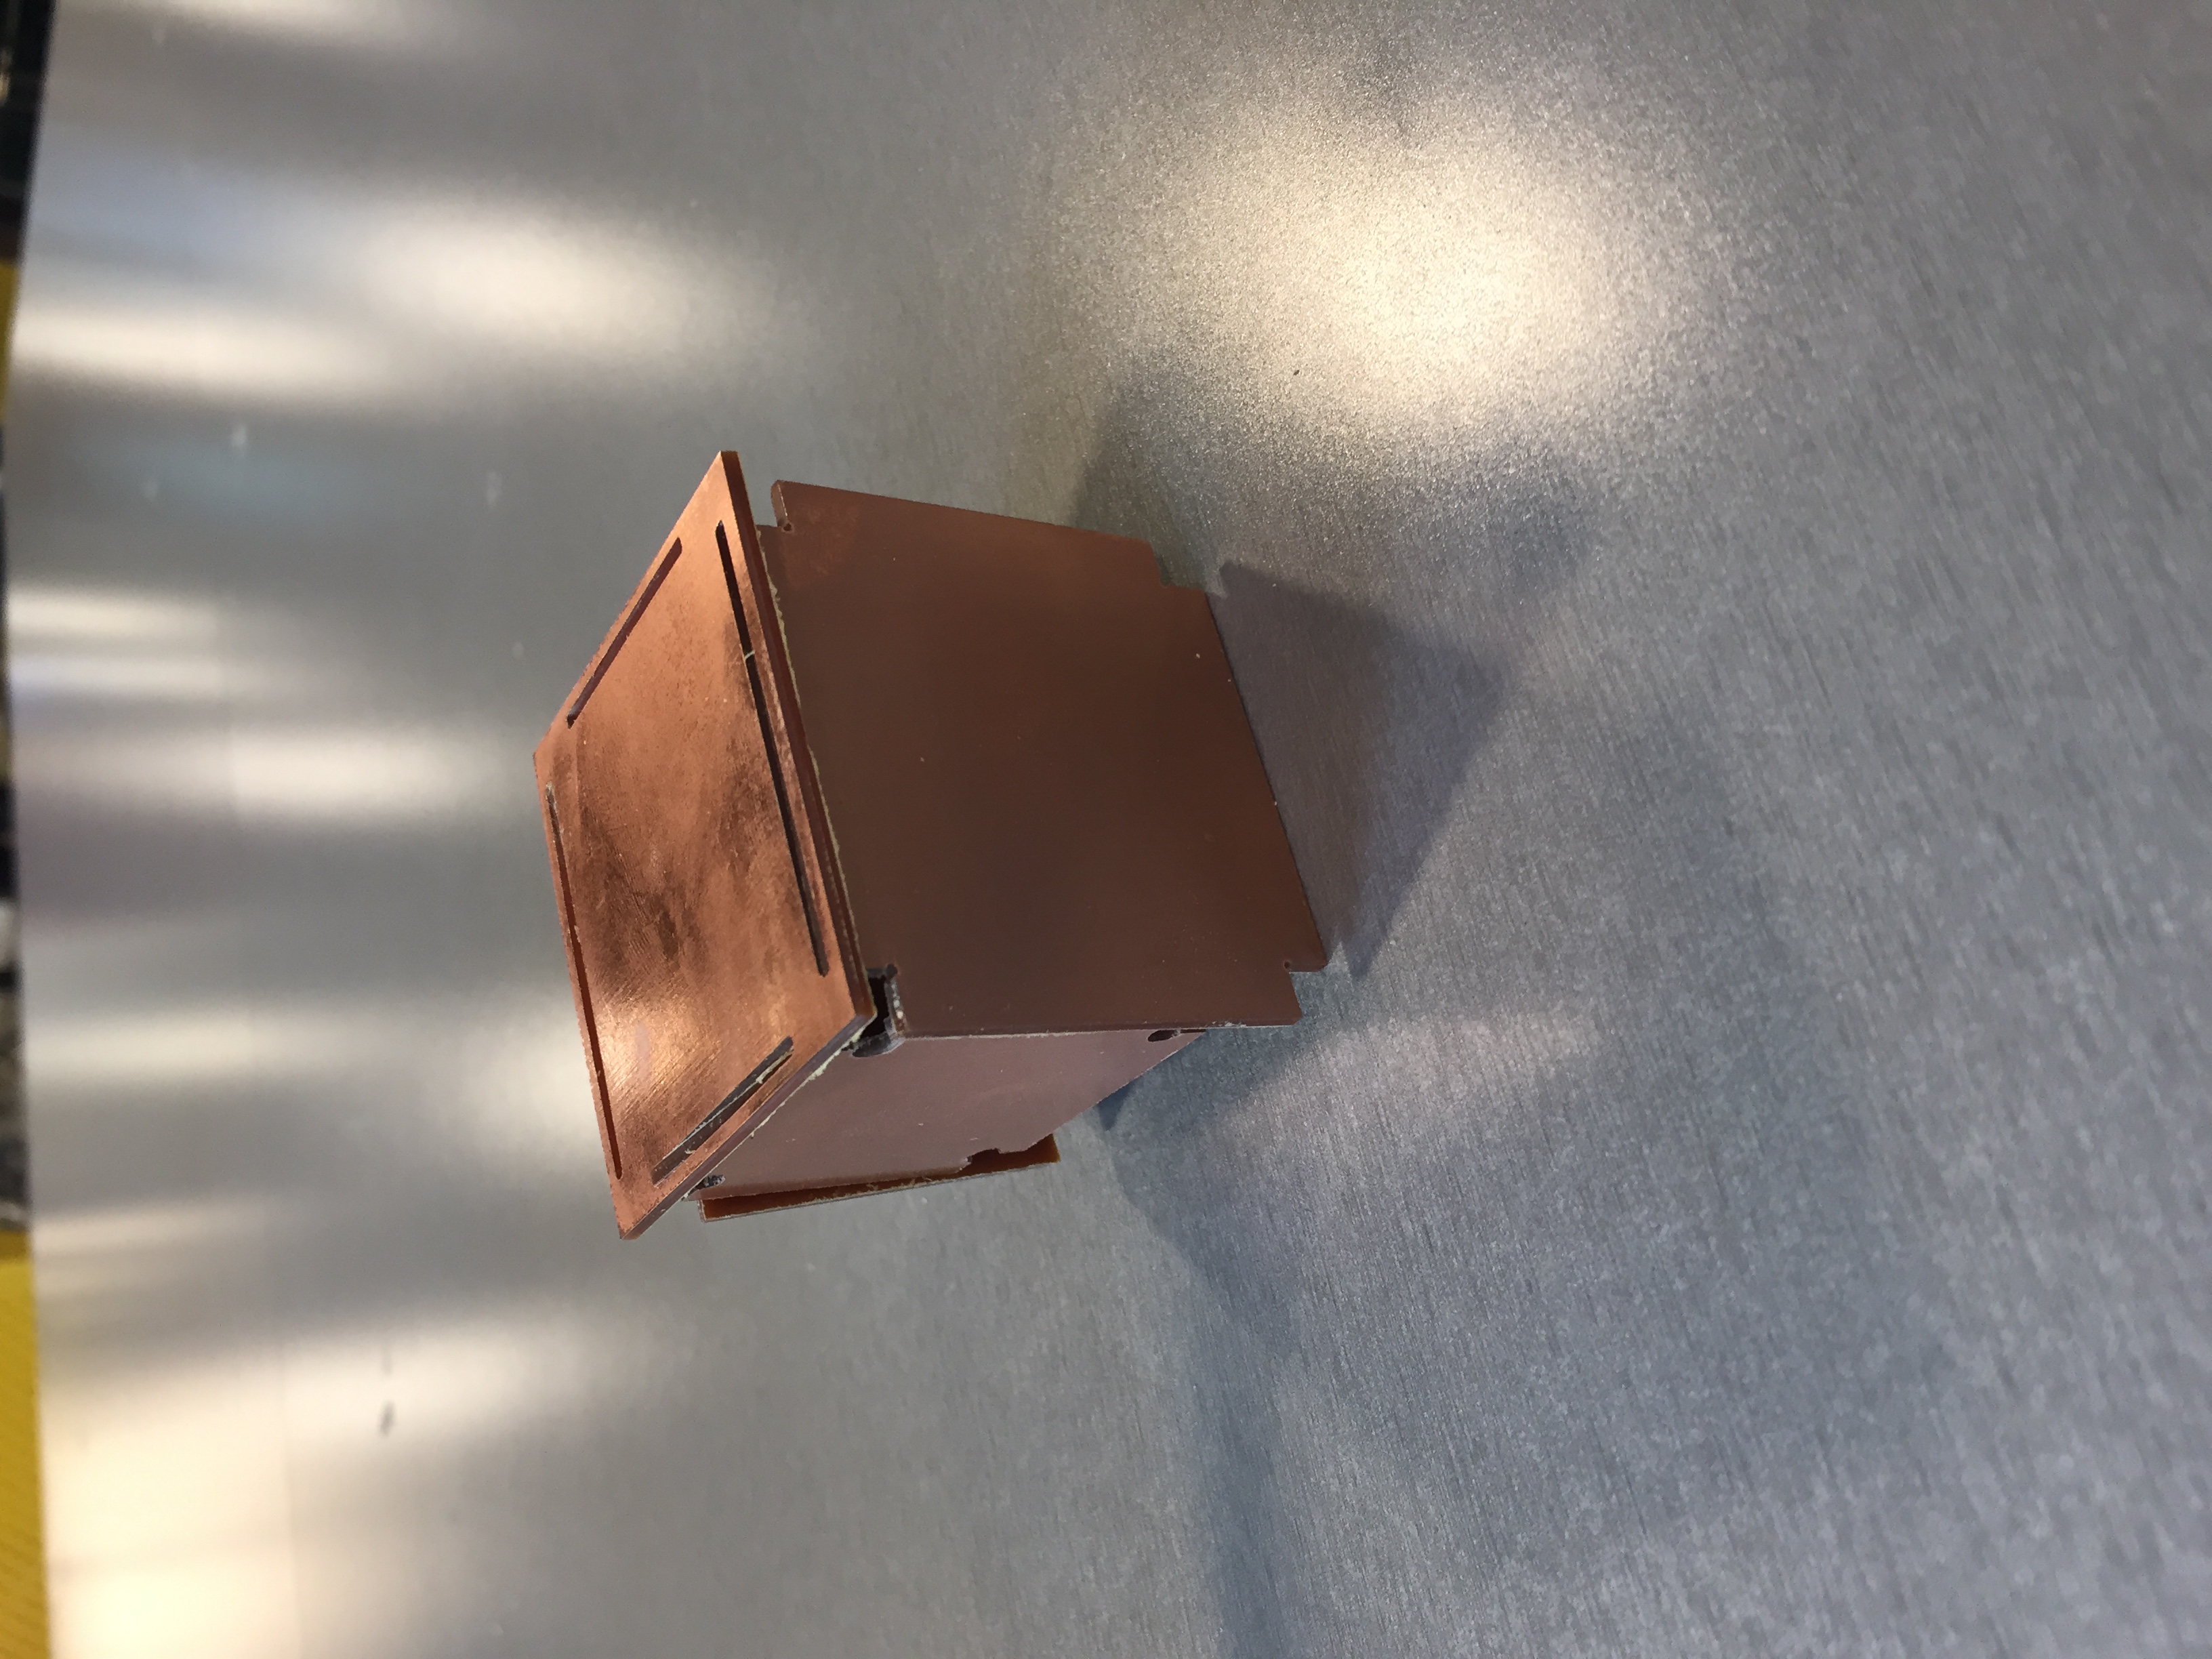
For this assignment, I got inspired by Joshua box example in class and I tried to create a similar box.
I started by creating sides in onshape. I wanted to have 3 kinds of shapes for the 6 sides of the cube. It was difficult to figure out the placement of notches, so I did paper prototyping to figure out the sides.
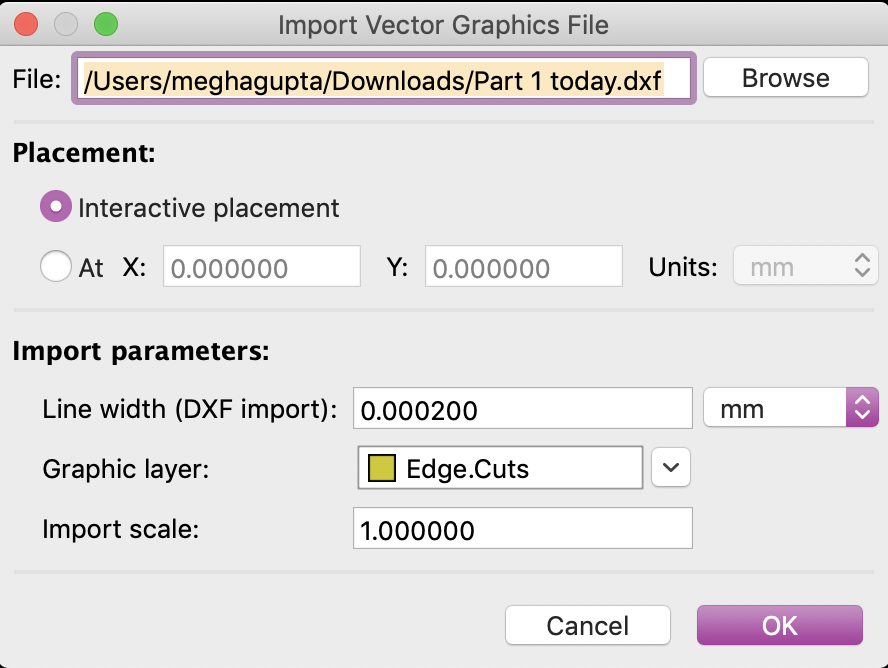
Once, I did that I created the shapes in Onshape and exported the DXF files to kiCad. In kiCad I faced some issues, the parts did not show up as in Onshape but exported as solid figures.
So after talking with Lucas I came to know that we need to add a 0 to the 'Line width' and change the value of 'import scale' from 1.0000 to 25.4 to convert to mm scale!
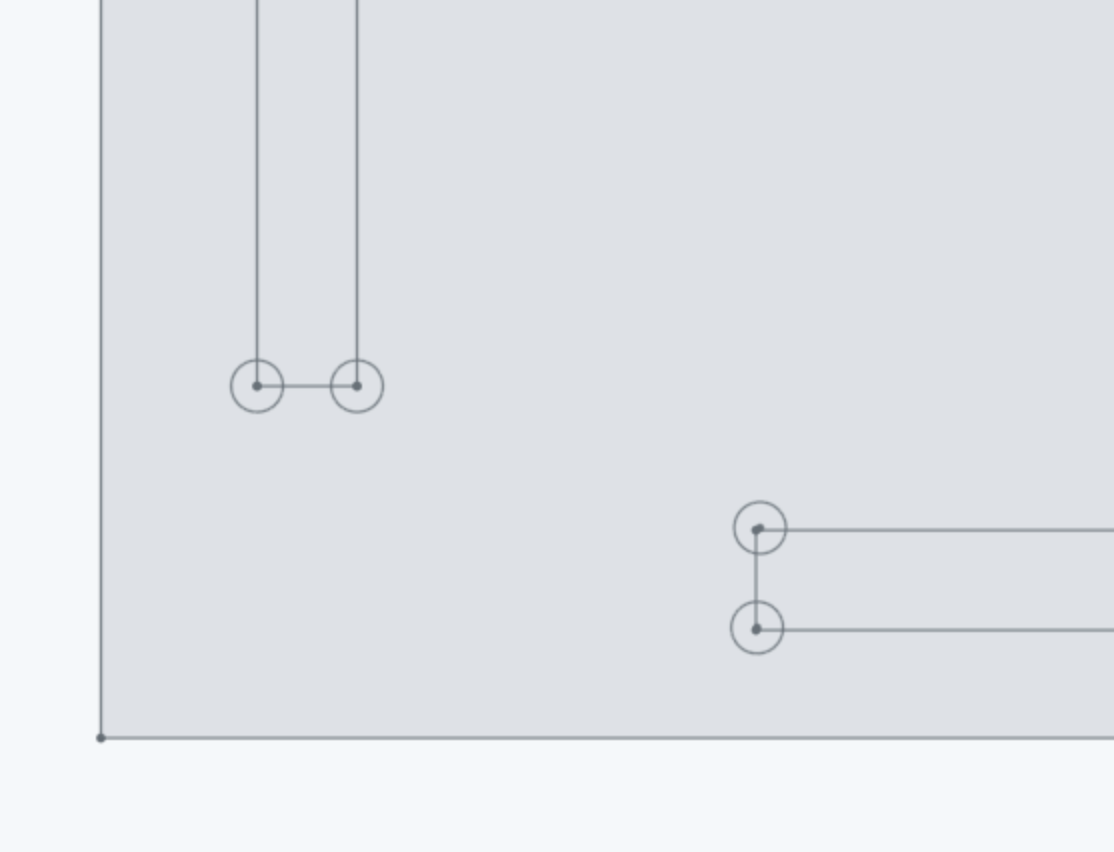
KiCad on my laptop didn't show the button to add origin somehow, so I added the origin using the top nav bar option:
Place -> Grid Origin
No button available to select grid origin on the right nav bar:
 Once I changed the dimentions and added origin, I exported the .gbr file and opened it in Bantam tools.
I changed the material size and placement to:
Material size:
Thickness = 0.06 in
Height = 10 cm
Width = 7 cm
Placement:
X = 4 mm
Y = 4 mm
Width = 1.54 mm
Placement of shape piece in Bantam Tools:
Once I changed the dimentions and added origin, I exported the .gbr file and opened it in Bantam tools.
I changed the material size and placement to:
Material size:
Thickness = 0.06 in
Height = 10 cm
Width = 7 cm
Placement:
X = 4 mm
Y = 4 mm
Width = 1.54 mm
Placement of shape piece in Bantam Tools:
 Then I deselected 'traces' tab to only have two things cut 'holes' and 'outline'.
The part showed some red spots and a message on the right: 'Marked areas need a smaller tool'.
To remove the error I went back to the lecture video and realized I did not add kerf to the the parts. I went back to edit the files in Onshape and added kerf.
Kerf added to shapes in Onshape
Then I deselected 'traces' tab to only have two things cut 'holes' and 'outline'.
The part showed some red spots and a message on the right: 'Marked areas need a smaller tool'.
To remove the error I went back to the lecture video and realized I did not add kerf to the the parts. I went back to edit the files in Onshape and added kerf.
Kerf added to shapes in Onshape
 I did the same steps again using kiCad and then opened the file in Bantam Tools. Again it showed the same error.
FR1 dimensions:
Thickness = 0.06 in
Length = 10 cm
Width = 7 cm
Then I reworked on them again and this time it worked.
CNC Milling in action:
I did the same steps again using kiCad and then opened the file in Bantam Tools. Again it showed the same error.
FR1 dimensions:
Thickness = 0.06 in
Length = 10 cm
Width = 7 cm
Then I reworked on them again and this time it worked.
CNC Milling in action:
Final Result:
Source Files:
Onshape file 1
Onshape file 2
Onshape file 3
Kicad File 1
Kicad File 2
Kicad File 3
Bantam File 1
Bantam File 2
Bantam File 3