A3: 3D printing + lasercutting lamp

I got inspired by the form of hanging planters as shown above and tried to replicate its structure in the form of a pendant lamp.
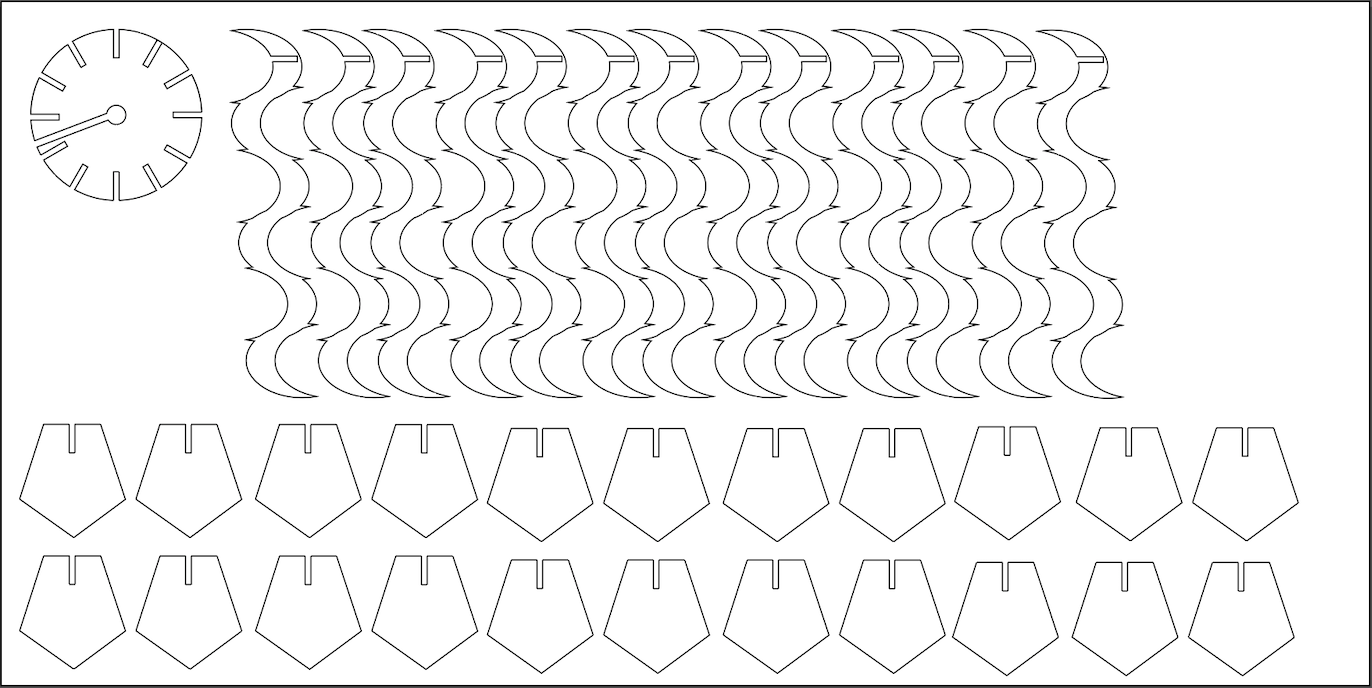
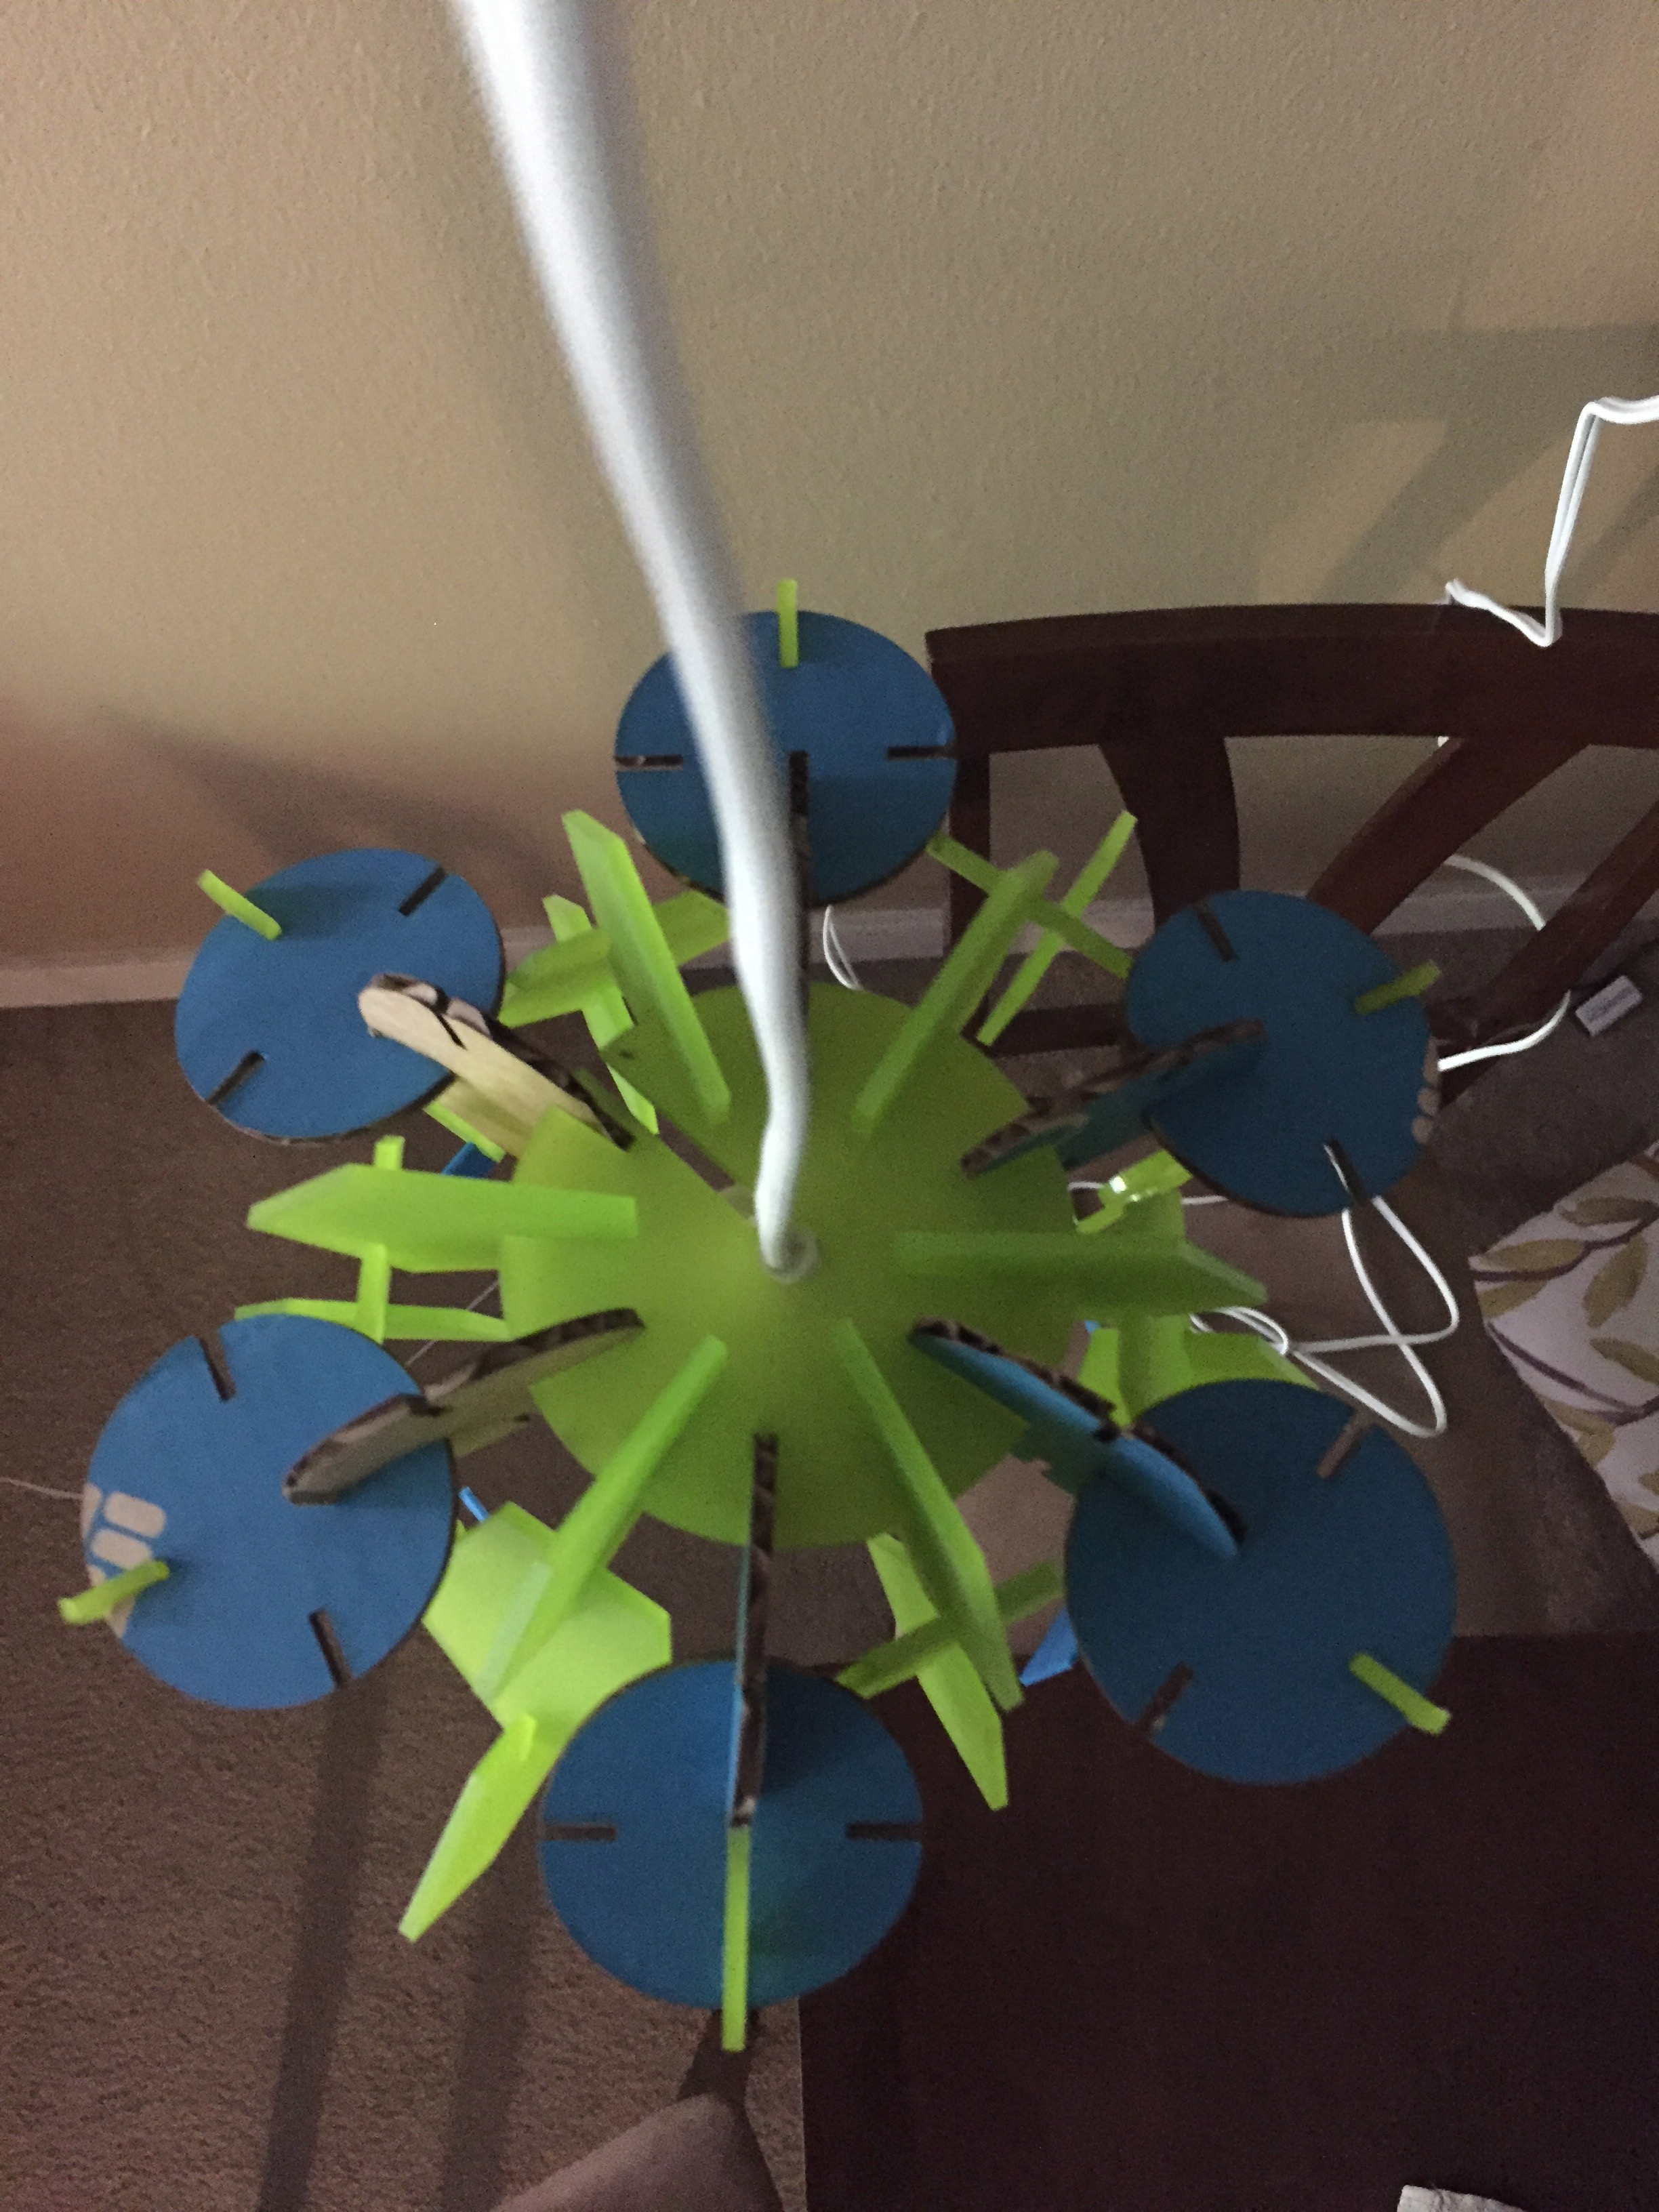
I started by creating a round top for the lamp with 12 notches to hang the vines on to. After making the shape in Illustrator I realized that the lamp body needs to be inserted in the round top, so I created a big notch with a hollow circle in the center with diameter a little lesser than the lamp base's top part, so it does not fall while hanging.
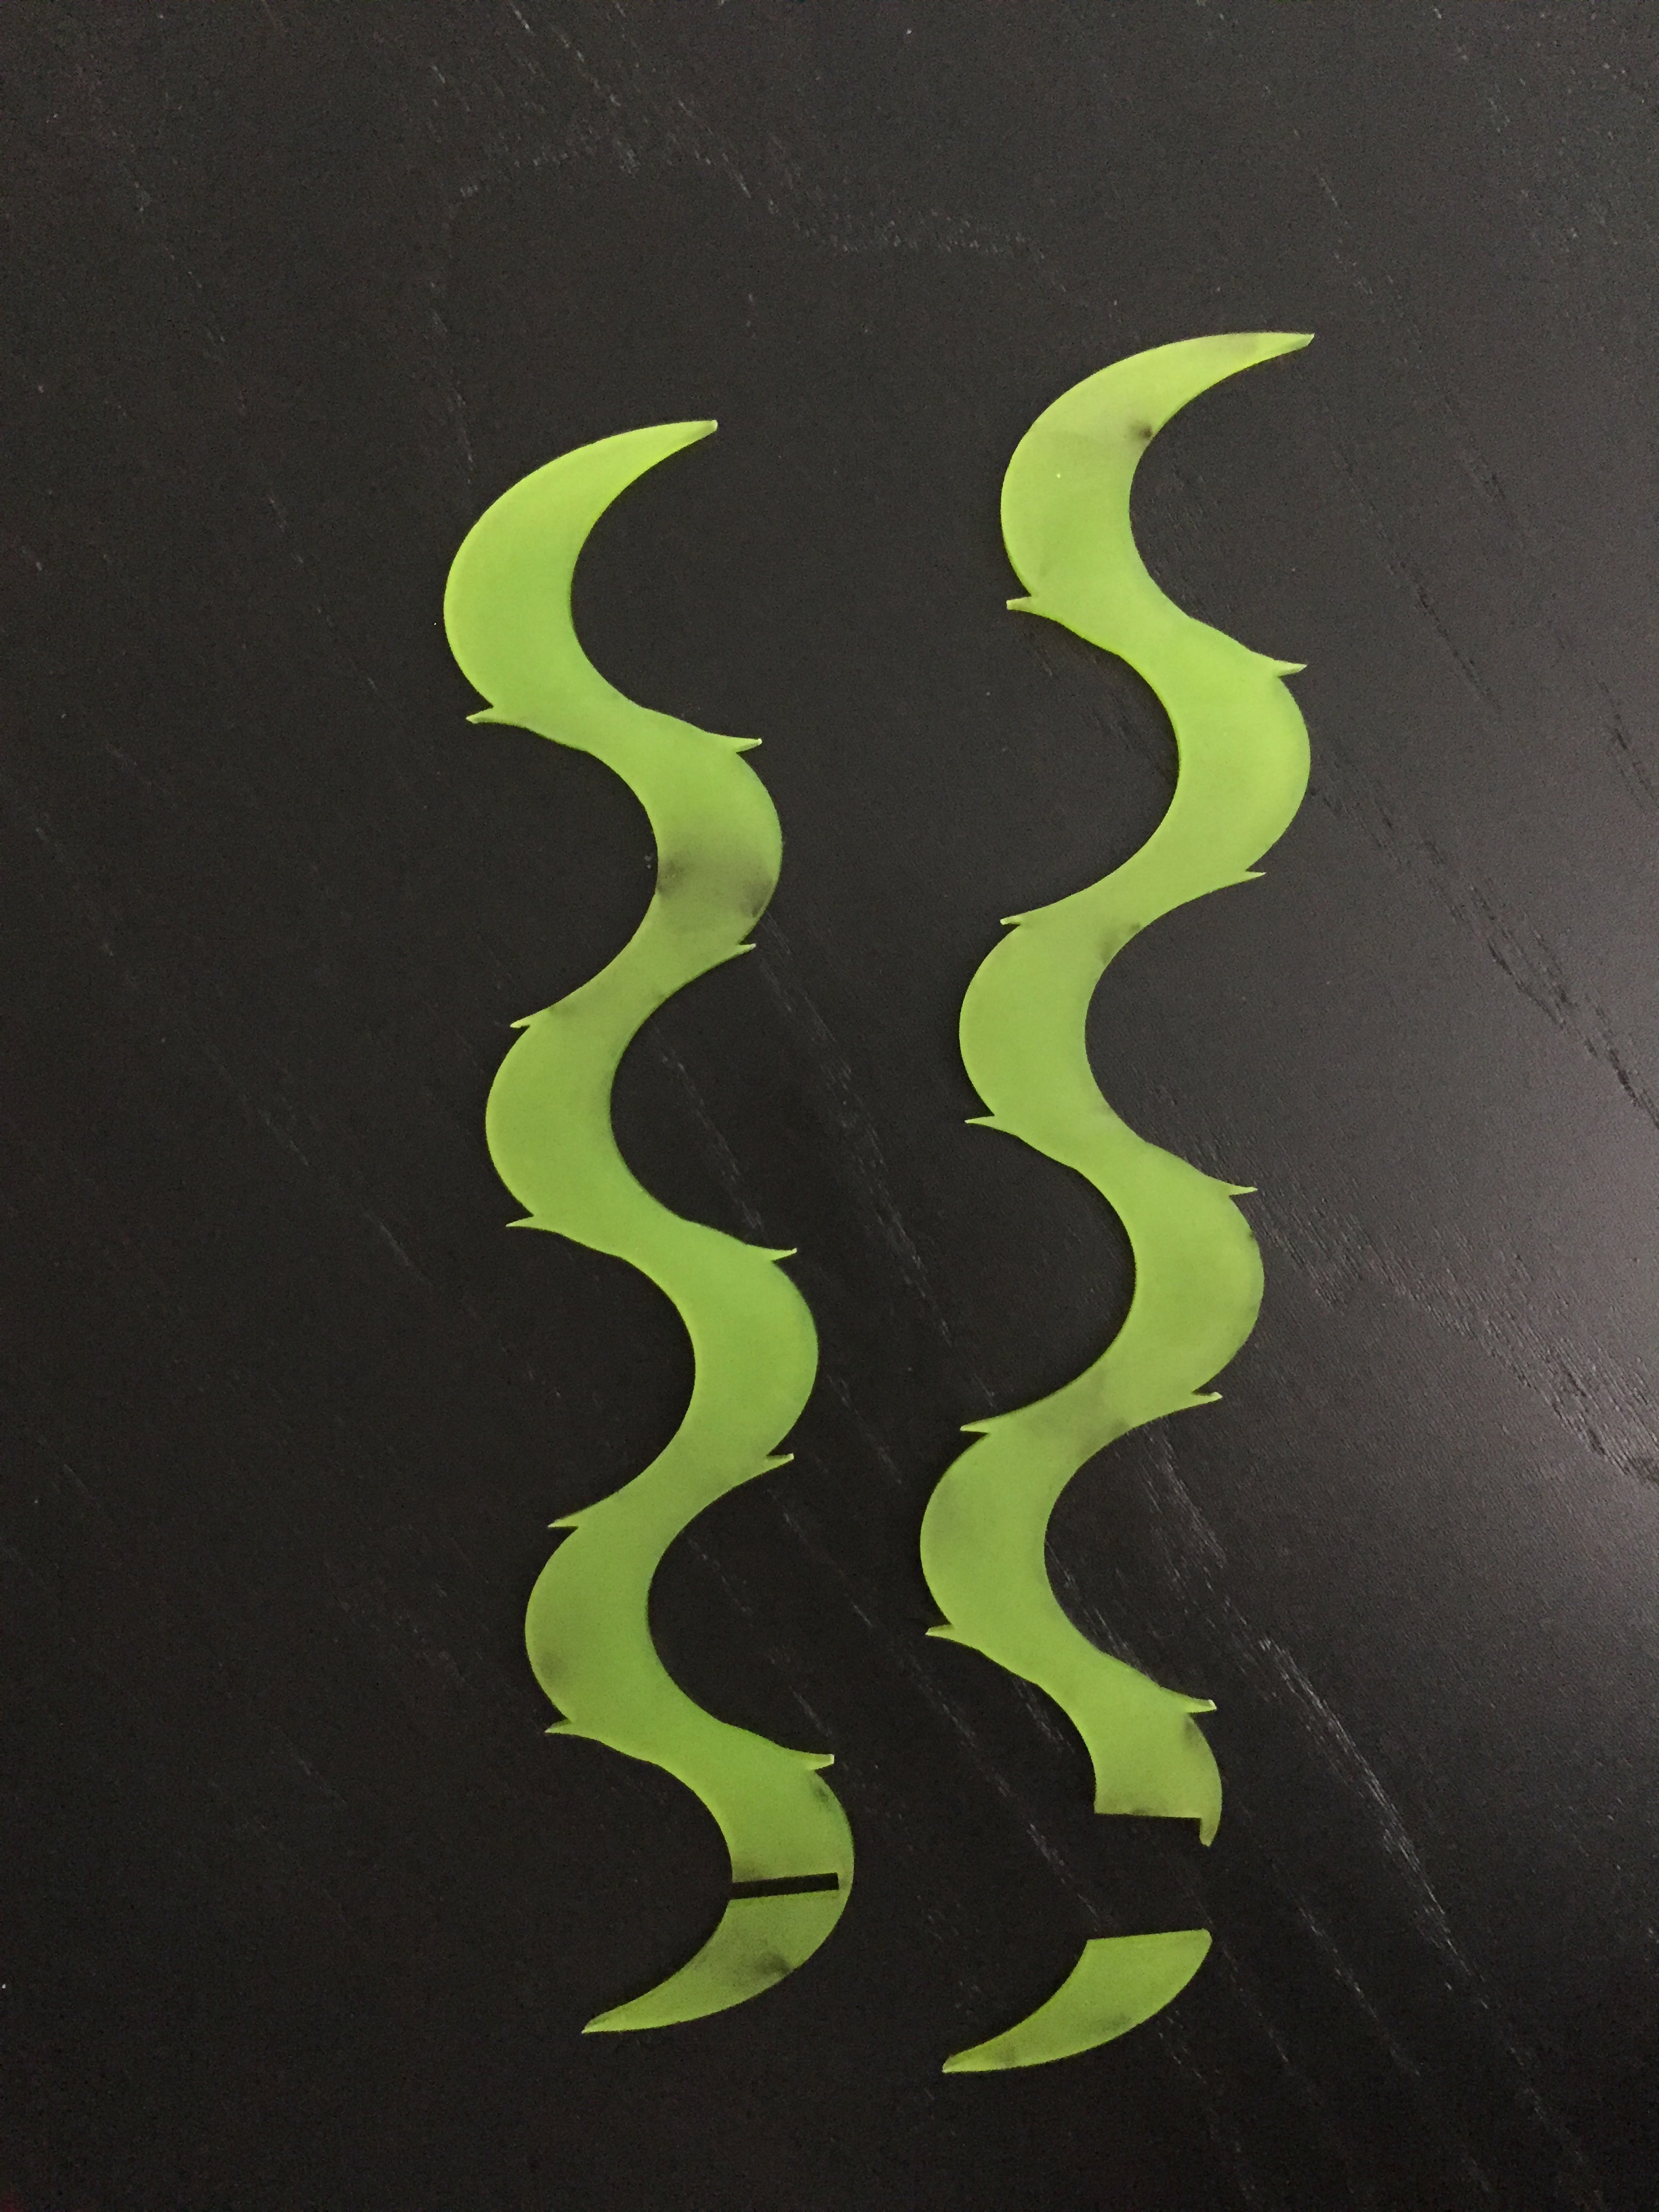
Then I moved on to the creation of a vine-like shape for the main part of the lamp. I created 13 equal spiral shapes and added notches to the top part to insert it in the round top part created earlier.
I also created pentagon shapes to act as leaves on the vines with notches of the same size.
Final shapes created using Illustrator:
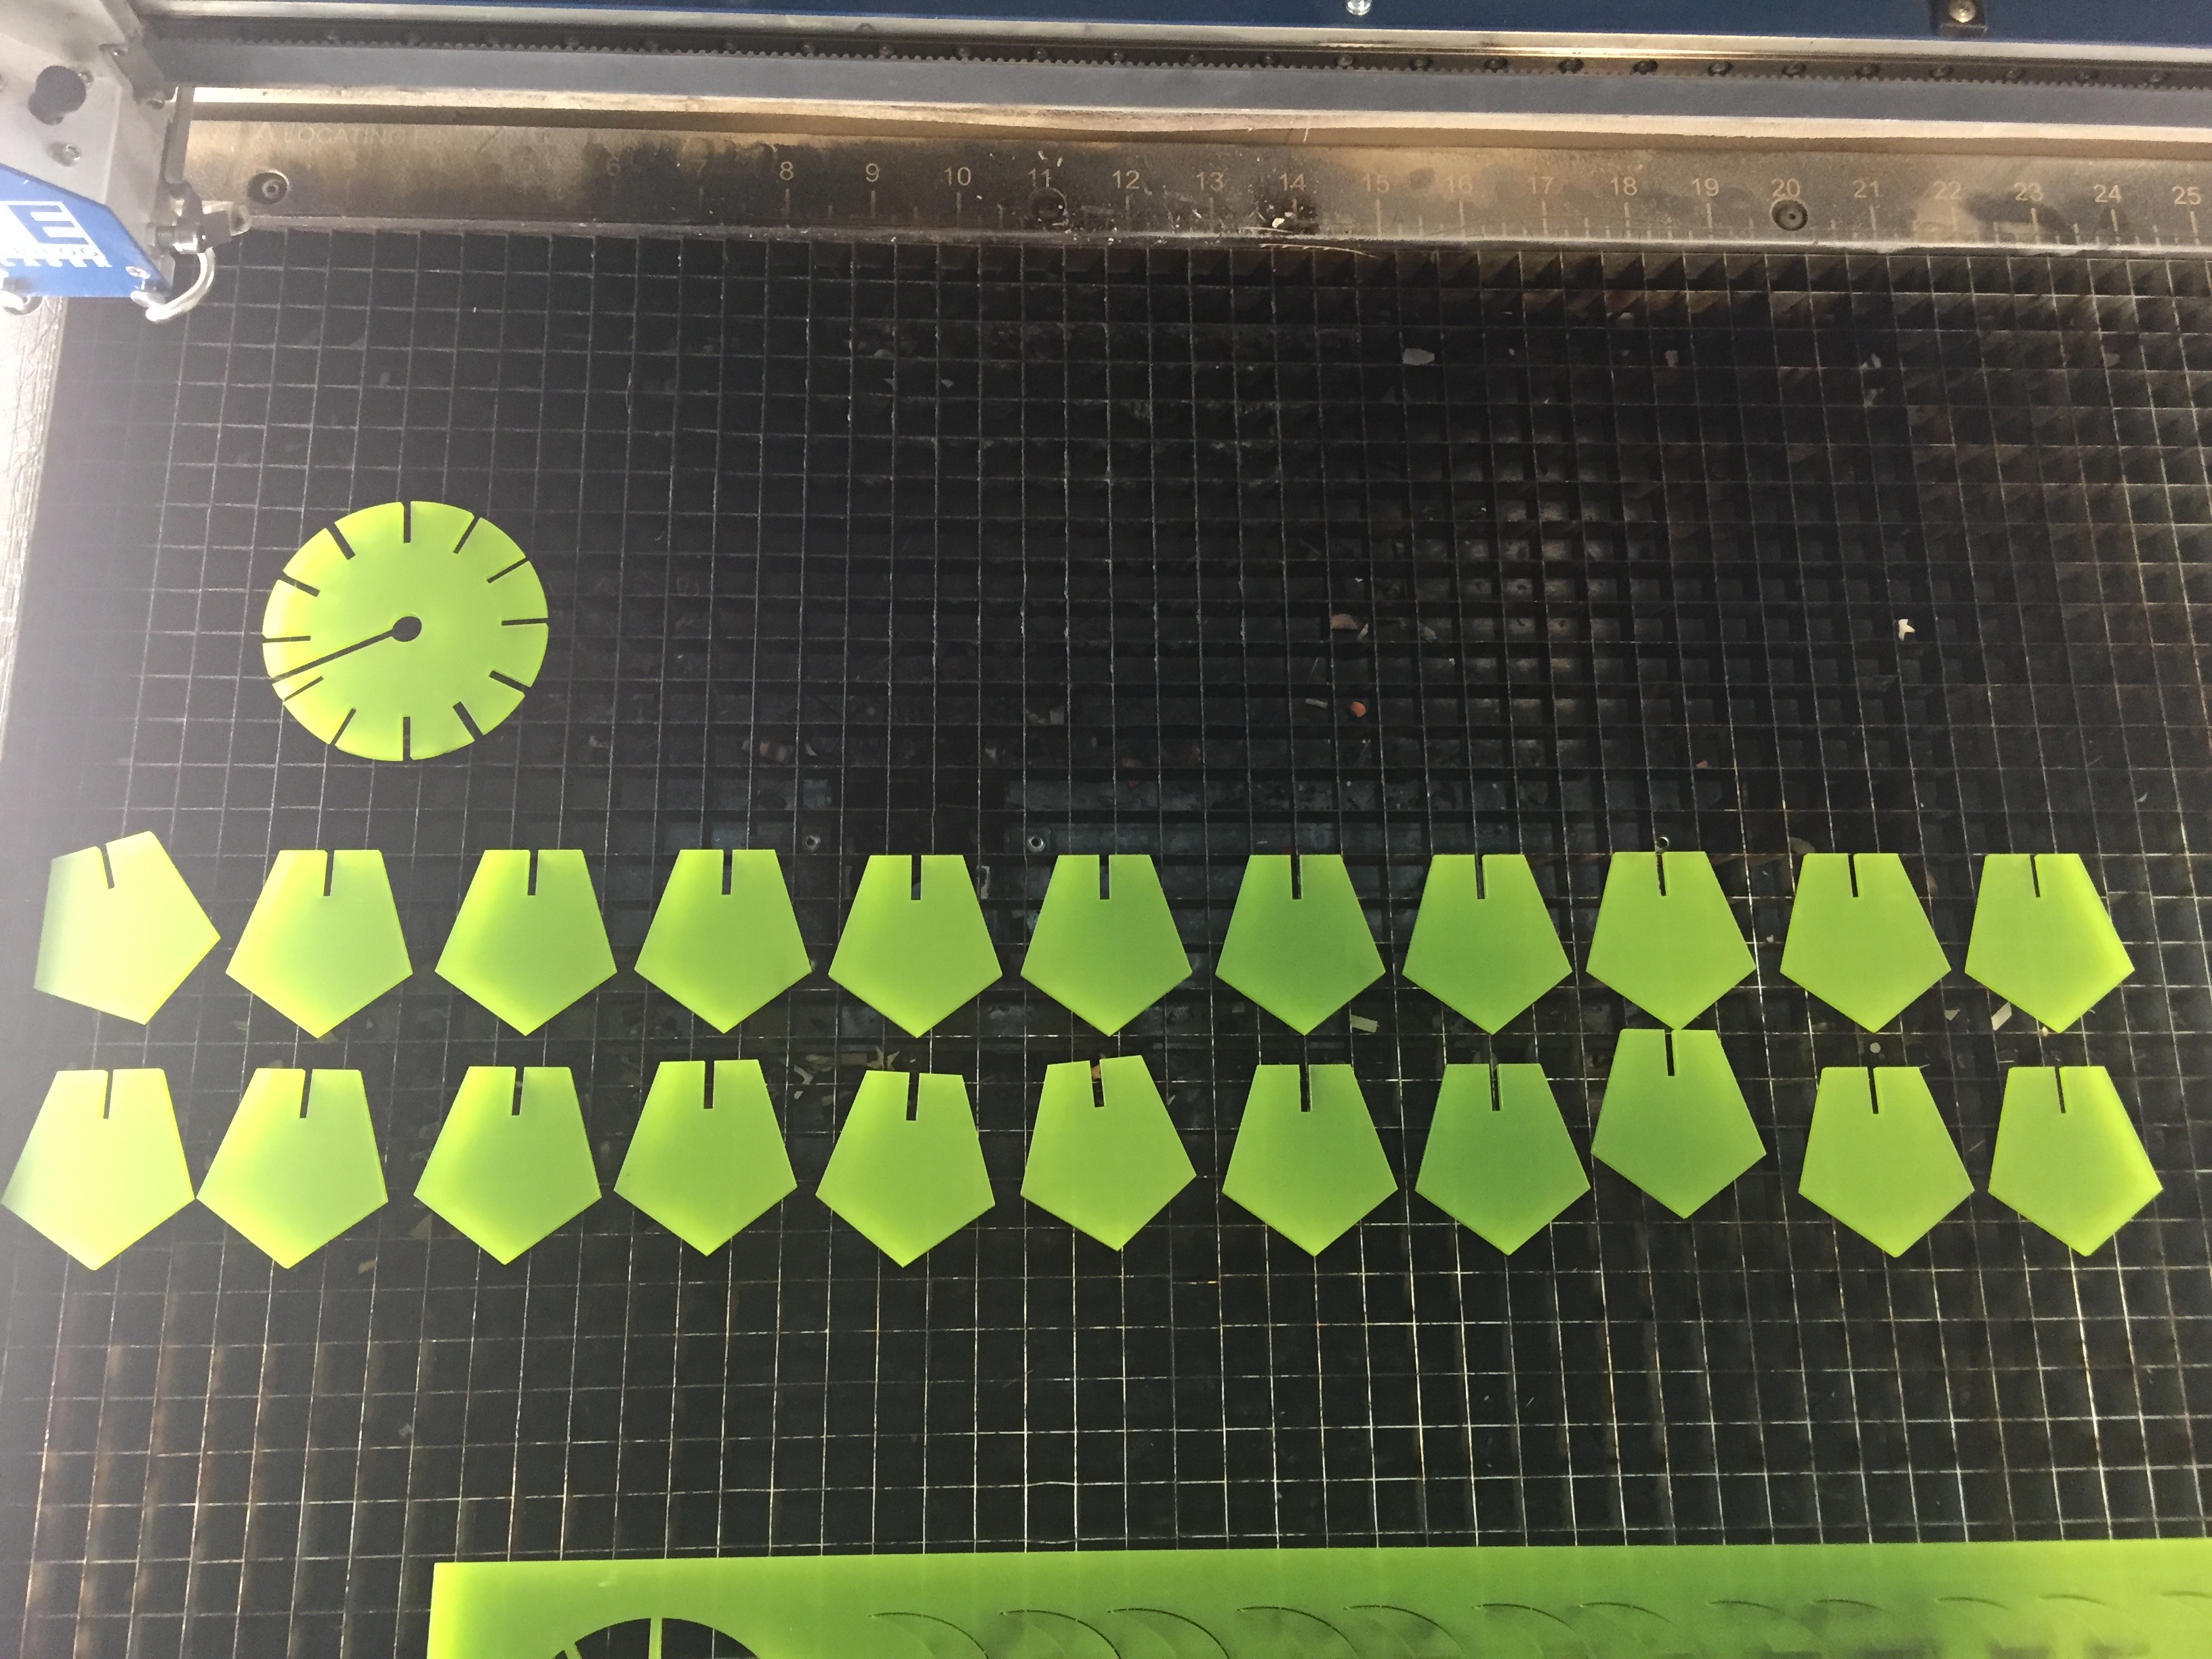
 I went ahead and cut the shapes on an acrylic sheet using the laser cutter.
I used lab recommended settings.
Thickness of Notches = 0.1 in
Speed = 8%
Power = 100%
Frequency = 100%
I went ahead and cut the shapes on an acrylic sheet using the laser cutter.
I used lab recommended settings.
Thickness of Notches = 0.1 in
Speed = 8%
Power = 100%
Frequency = 100%
Laser Cutting at the Mill
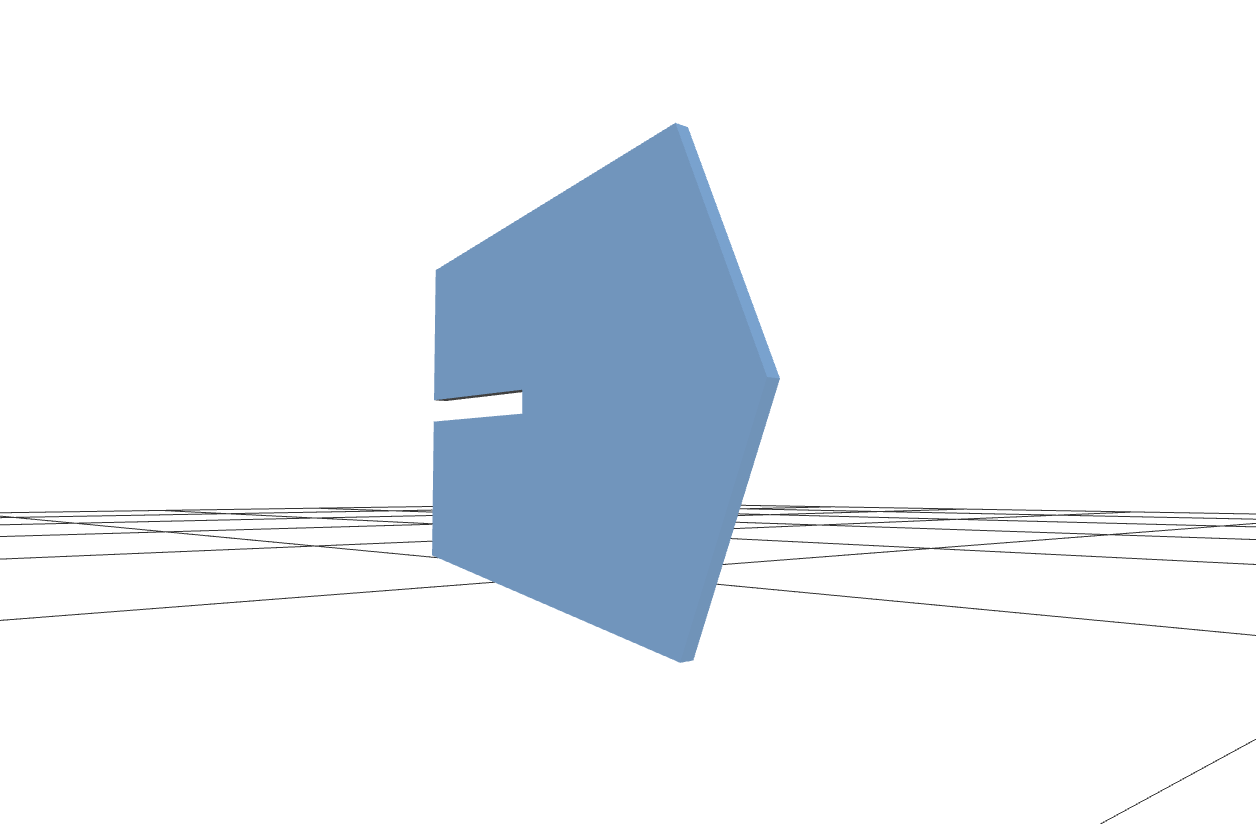
 I created a similar pentagon shape in rhino to 3d print later in a different color than the above shapes to add a little color contrast. But when I tried to extrude the shape it did not fill the whole thing and would just fill in the sides, so when I 3d printed, it would just give me a shape outline and not a solid pentagon. I tried to get help from the Mill staff but was not able to fill in the pentagon solid. So, on the recommendation of the Mill staff, I used 'Autodesk Inventor' and successfully created the shape.
Screenshot of shape to be 3d printed:
I created a similar pentagon shape in rhino to 3d print later in a different color than the above shapes to add a little color contrast. But when I tried to extrude the shape it did not fill the whole thing and would just fill in the sides, so when I 3d printed, it would just give me a shape outline and not a solid pentagon. I tried to get help from the Mill staff but was not able to fill in the pentagon solid. So, on the recommendation of the Mill staff, I used 'Autodesk Inventor' and successfully created the shape.
Screenshot of shape to be 3d printed:
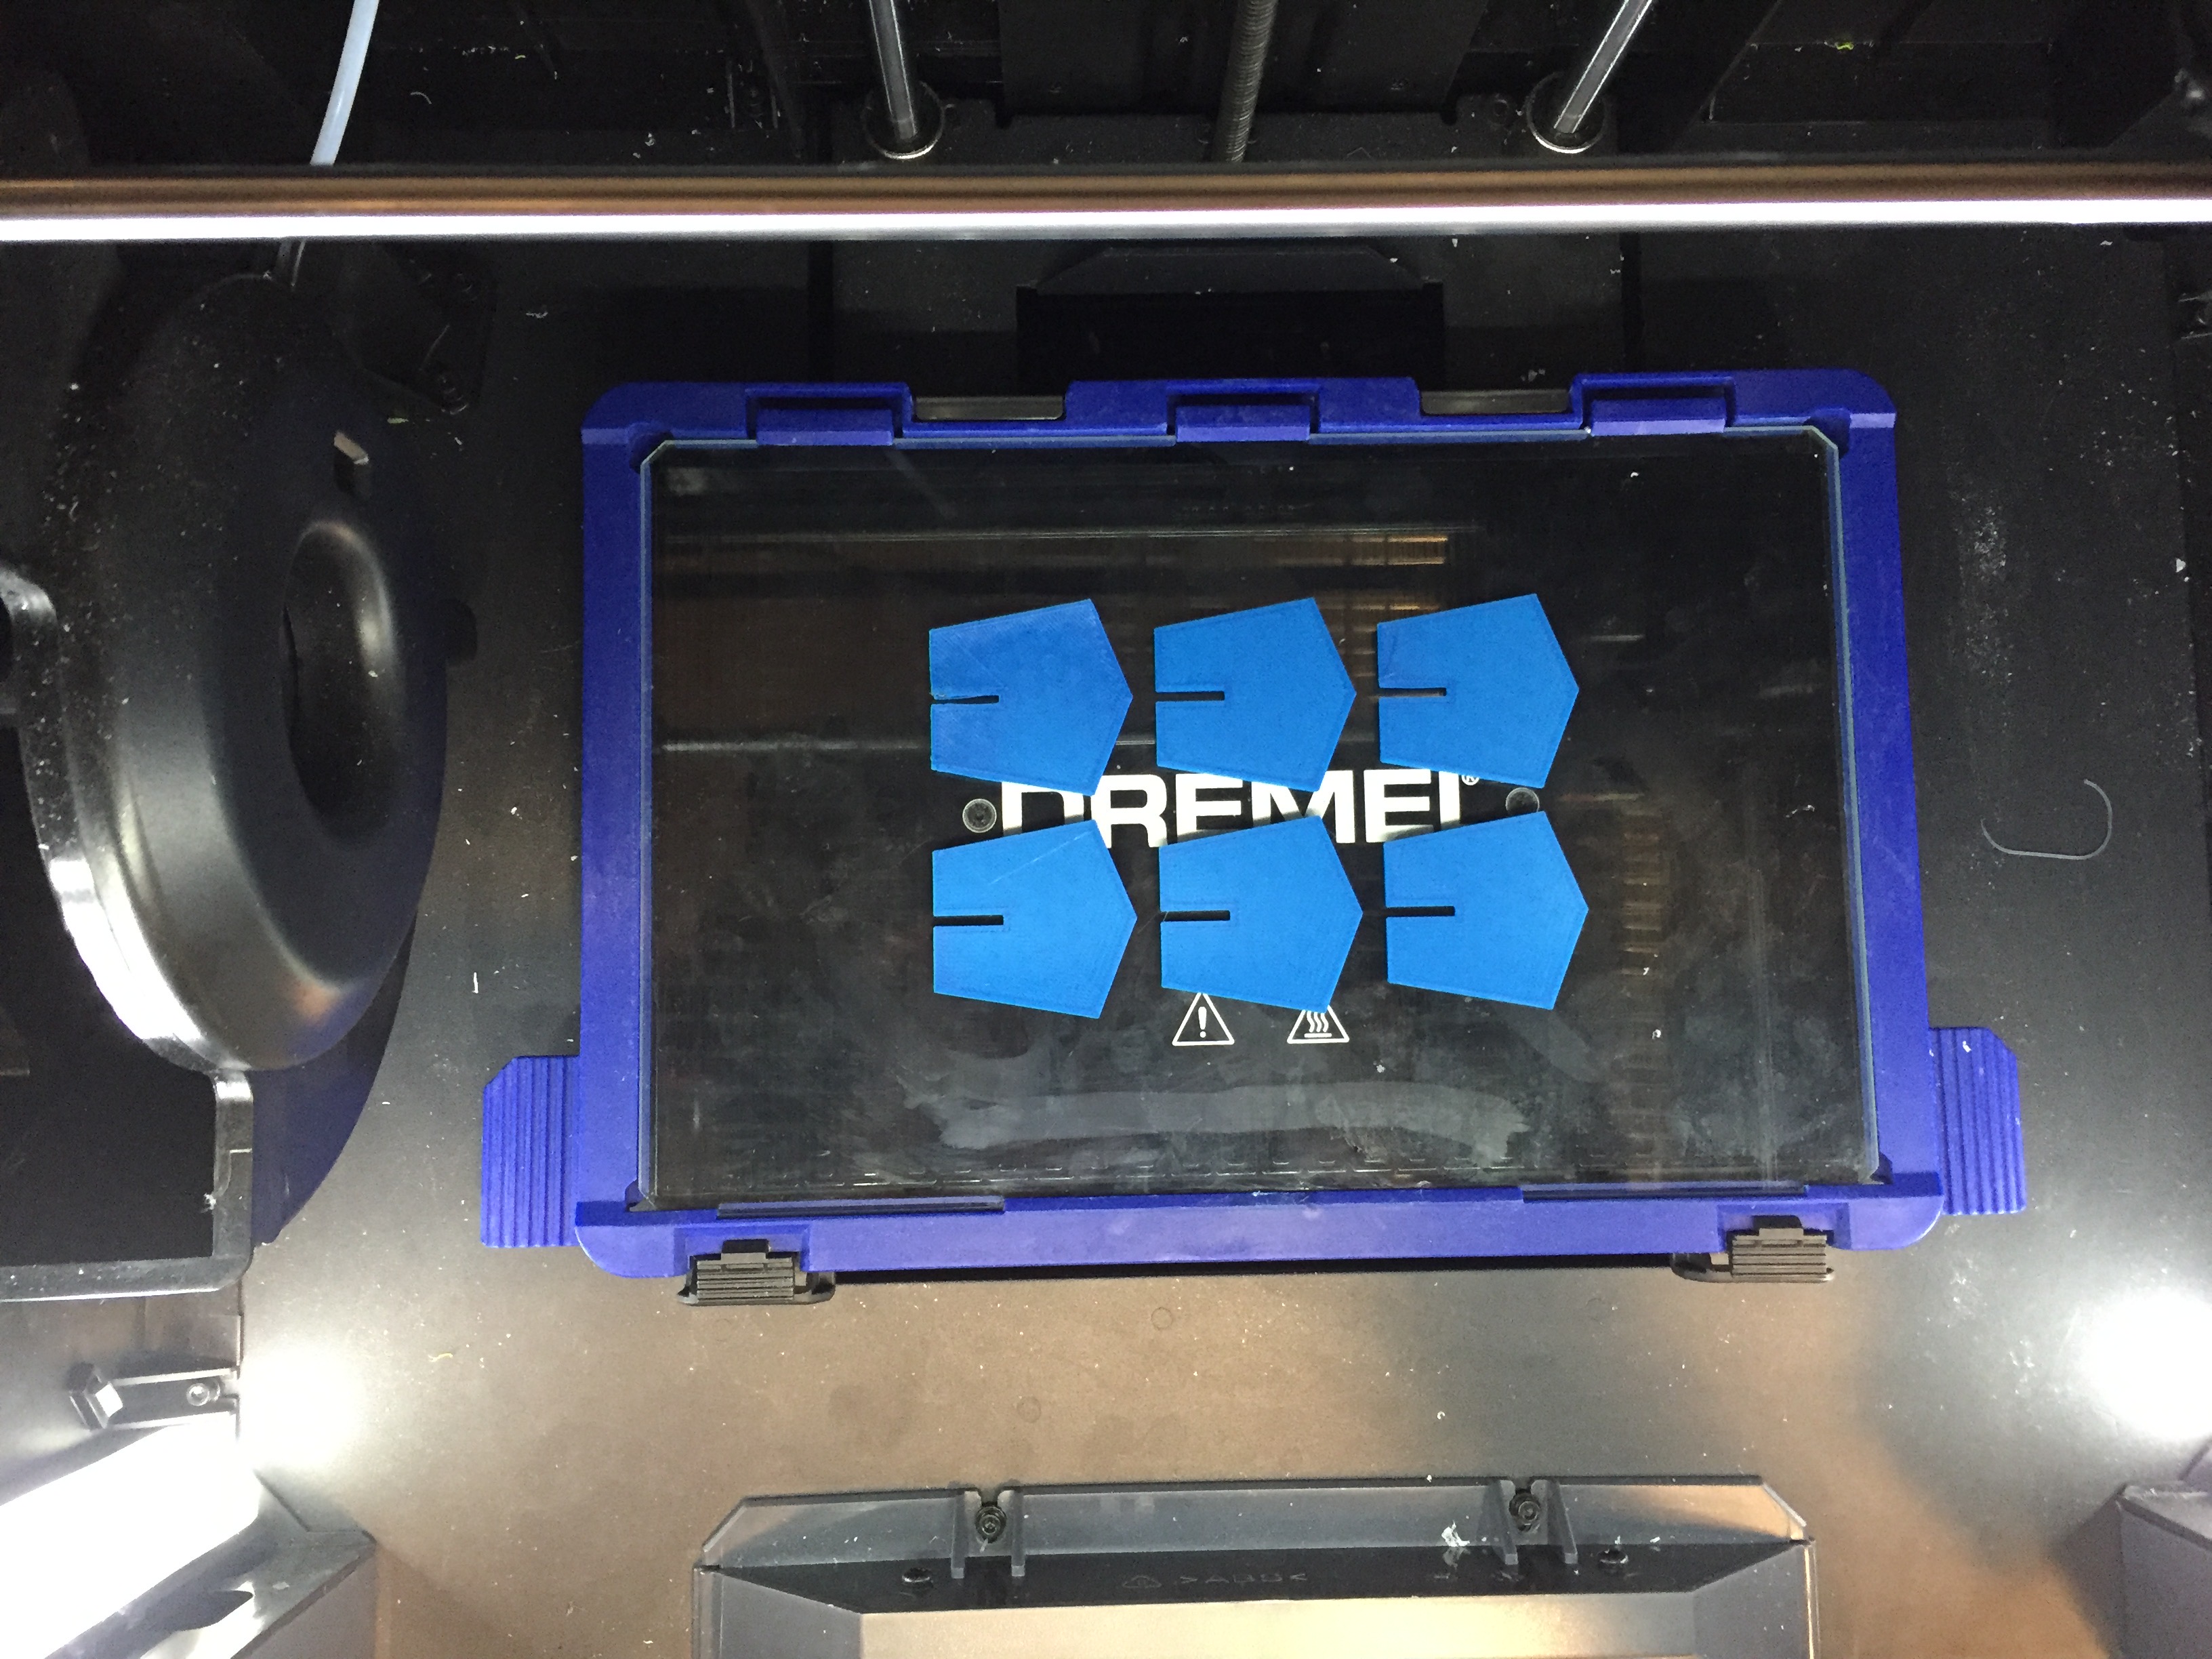
 I went ahead and 3d printed six instances of the pentagon to add to the vines in different places.
3D printing at the Mill
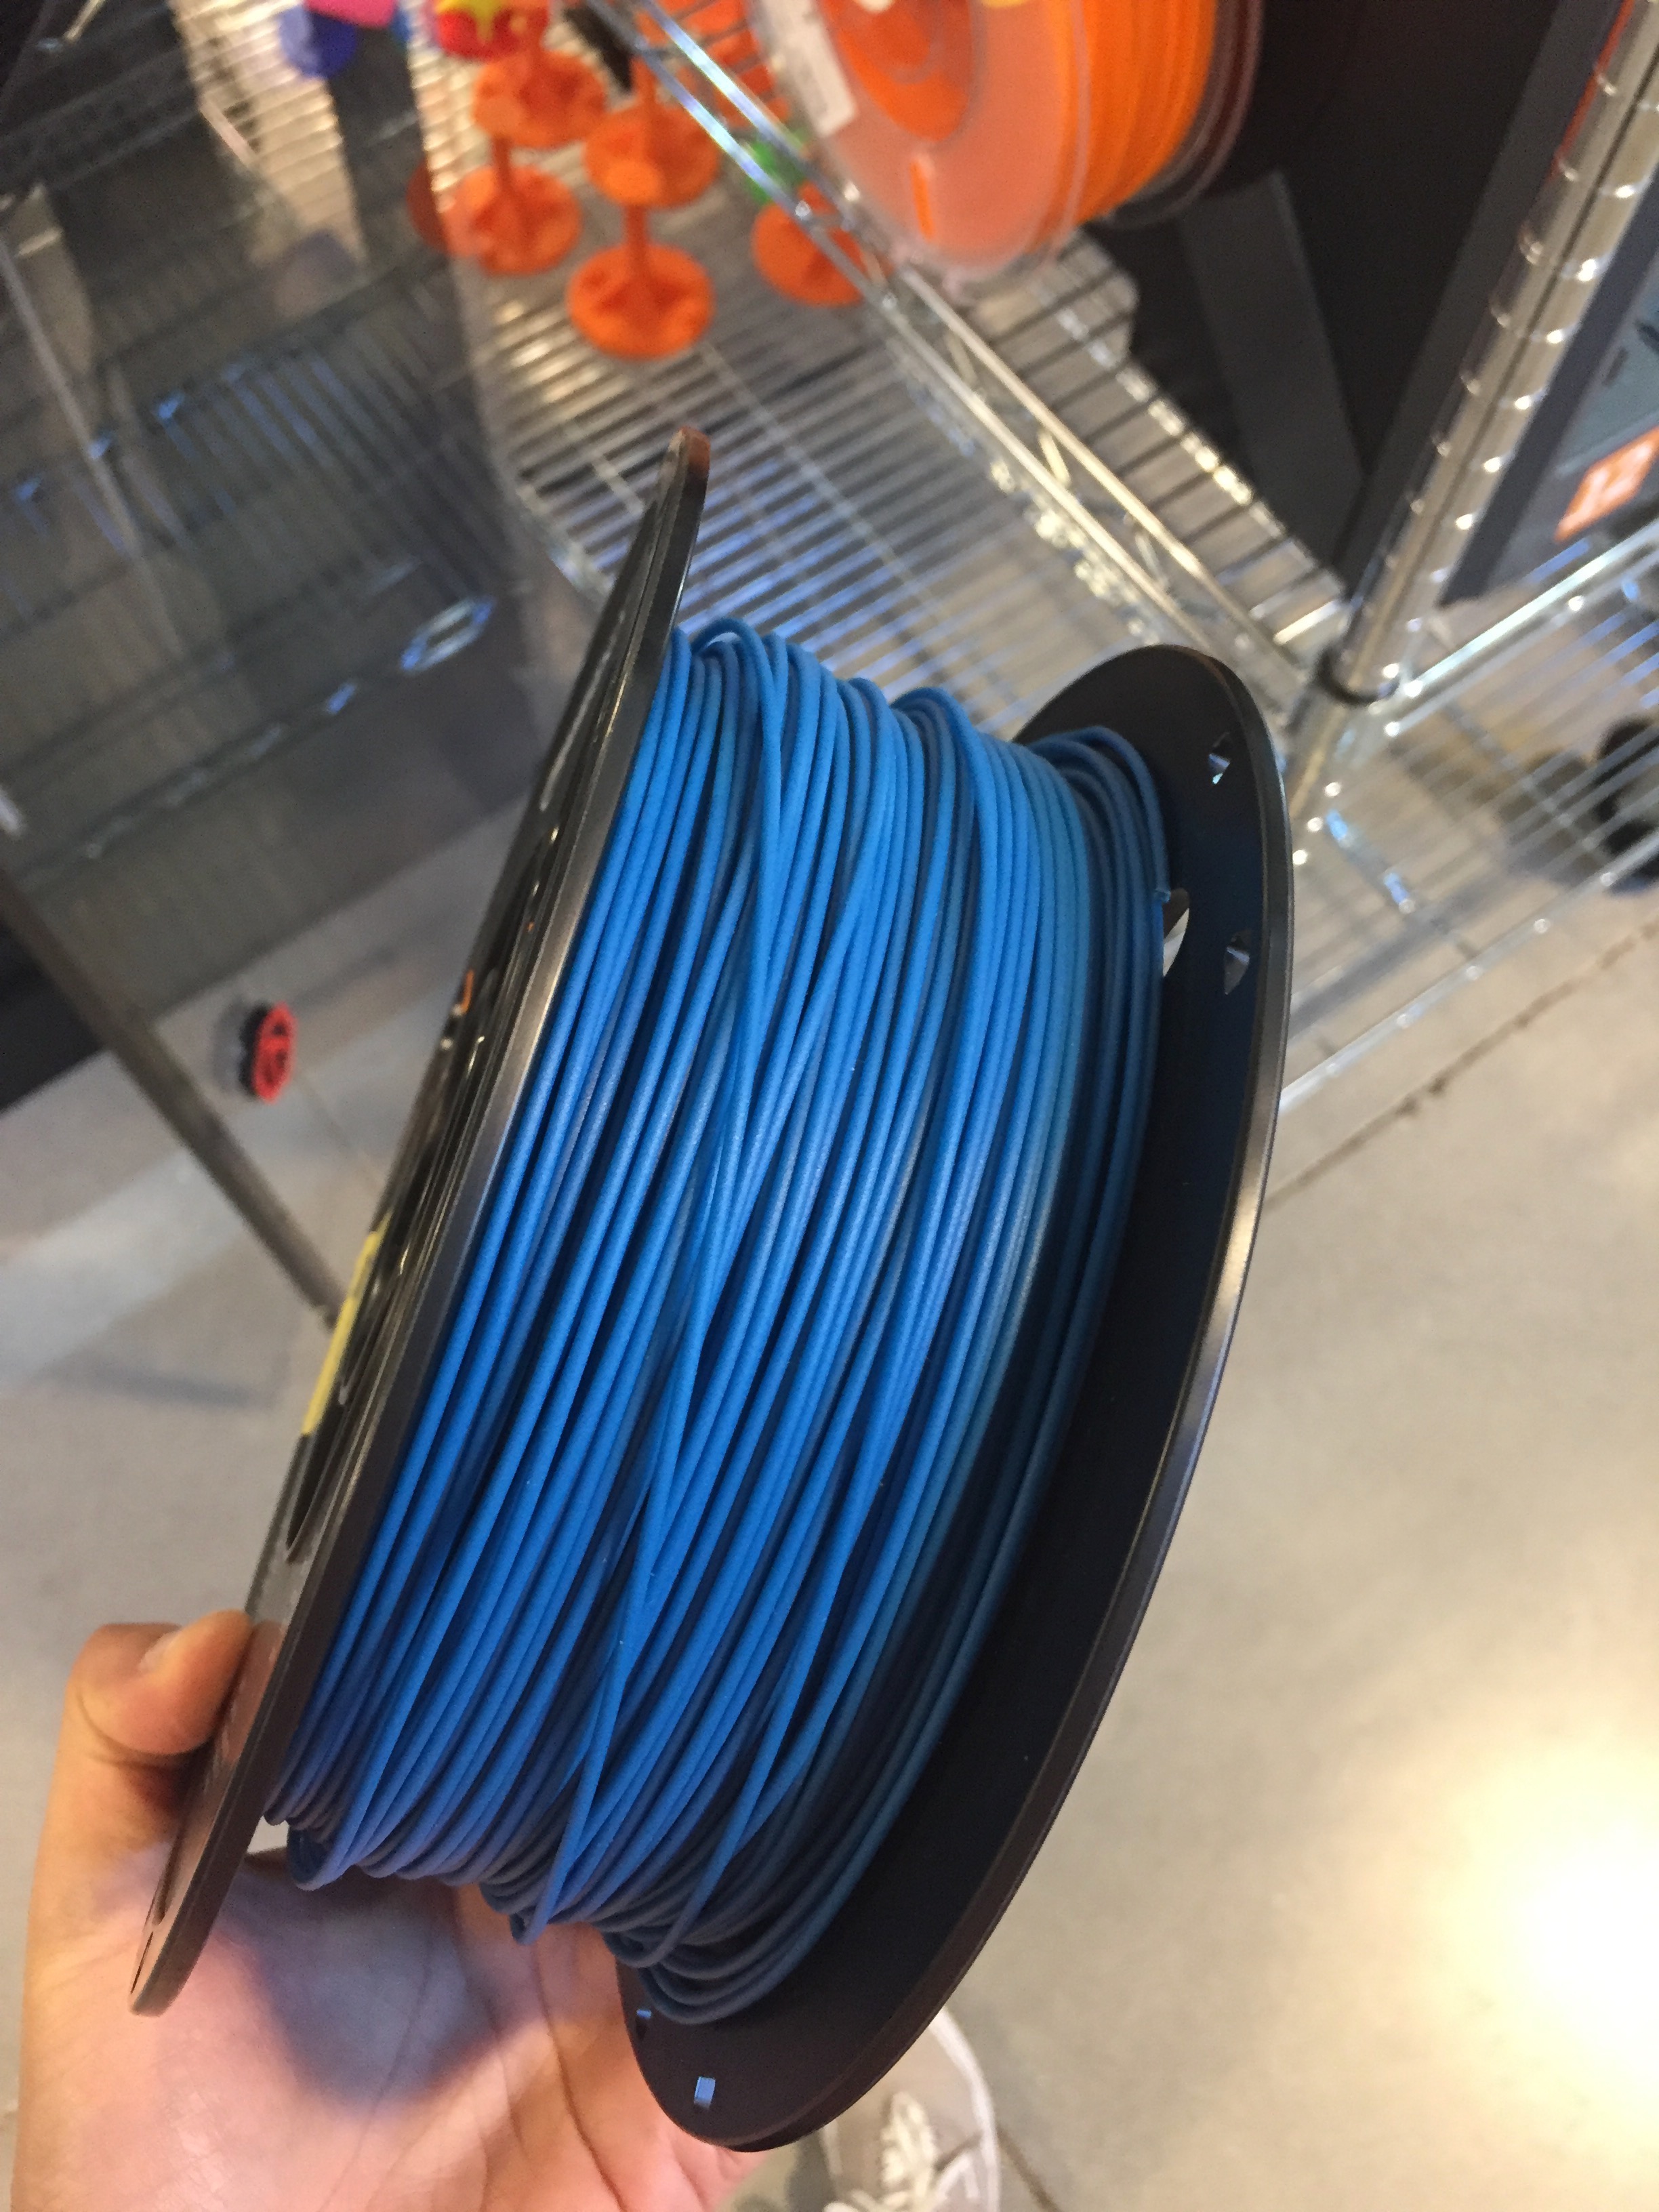
Filament used: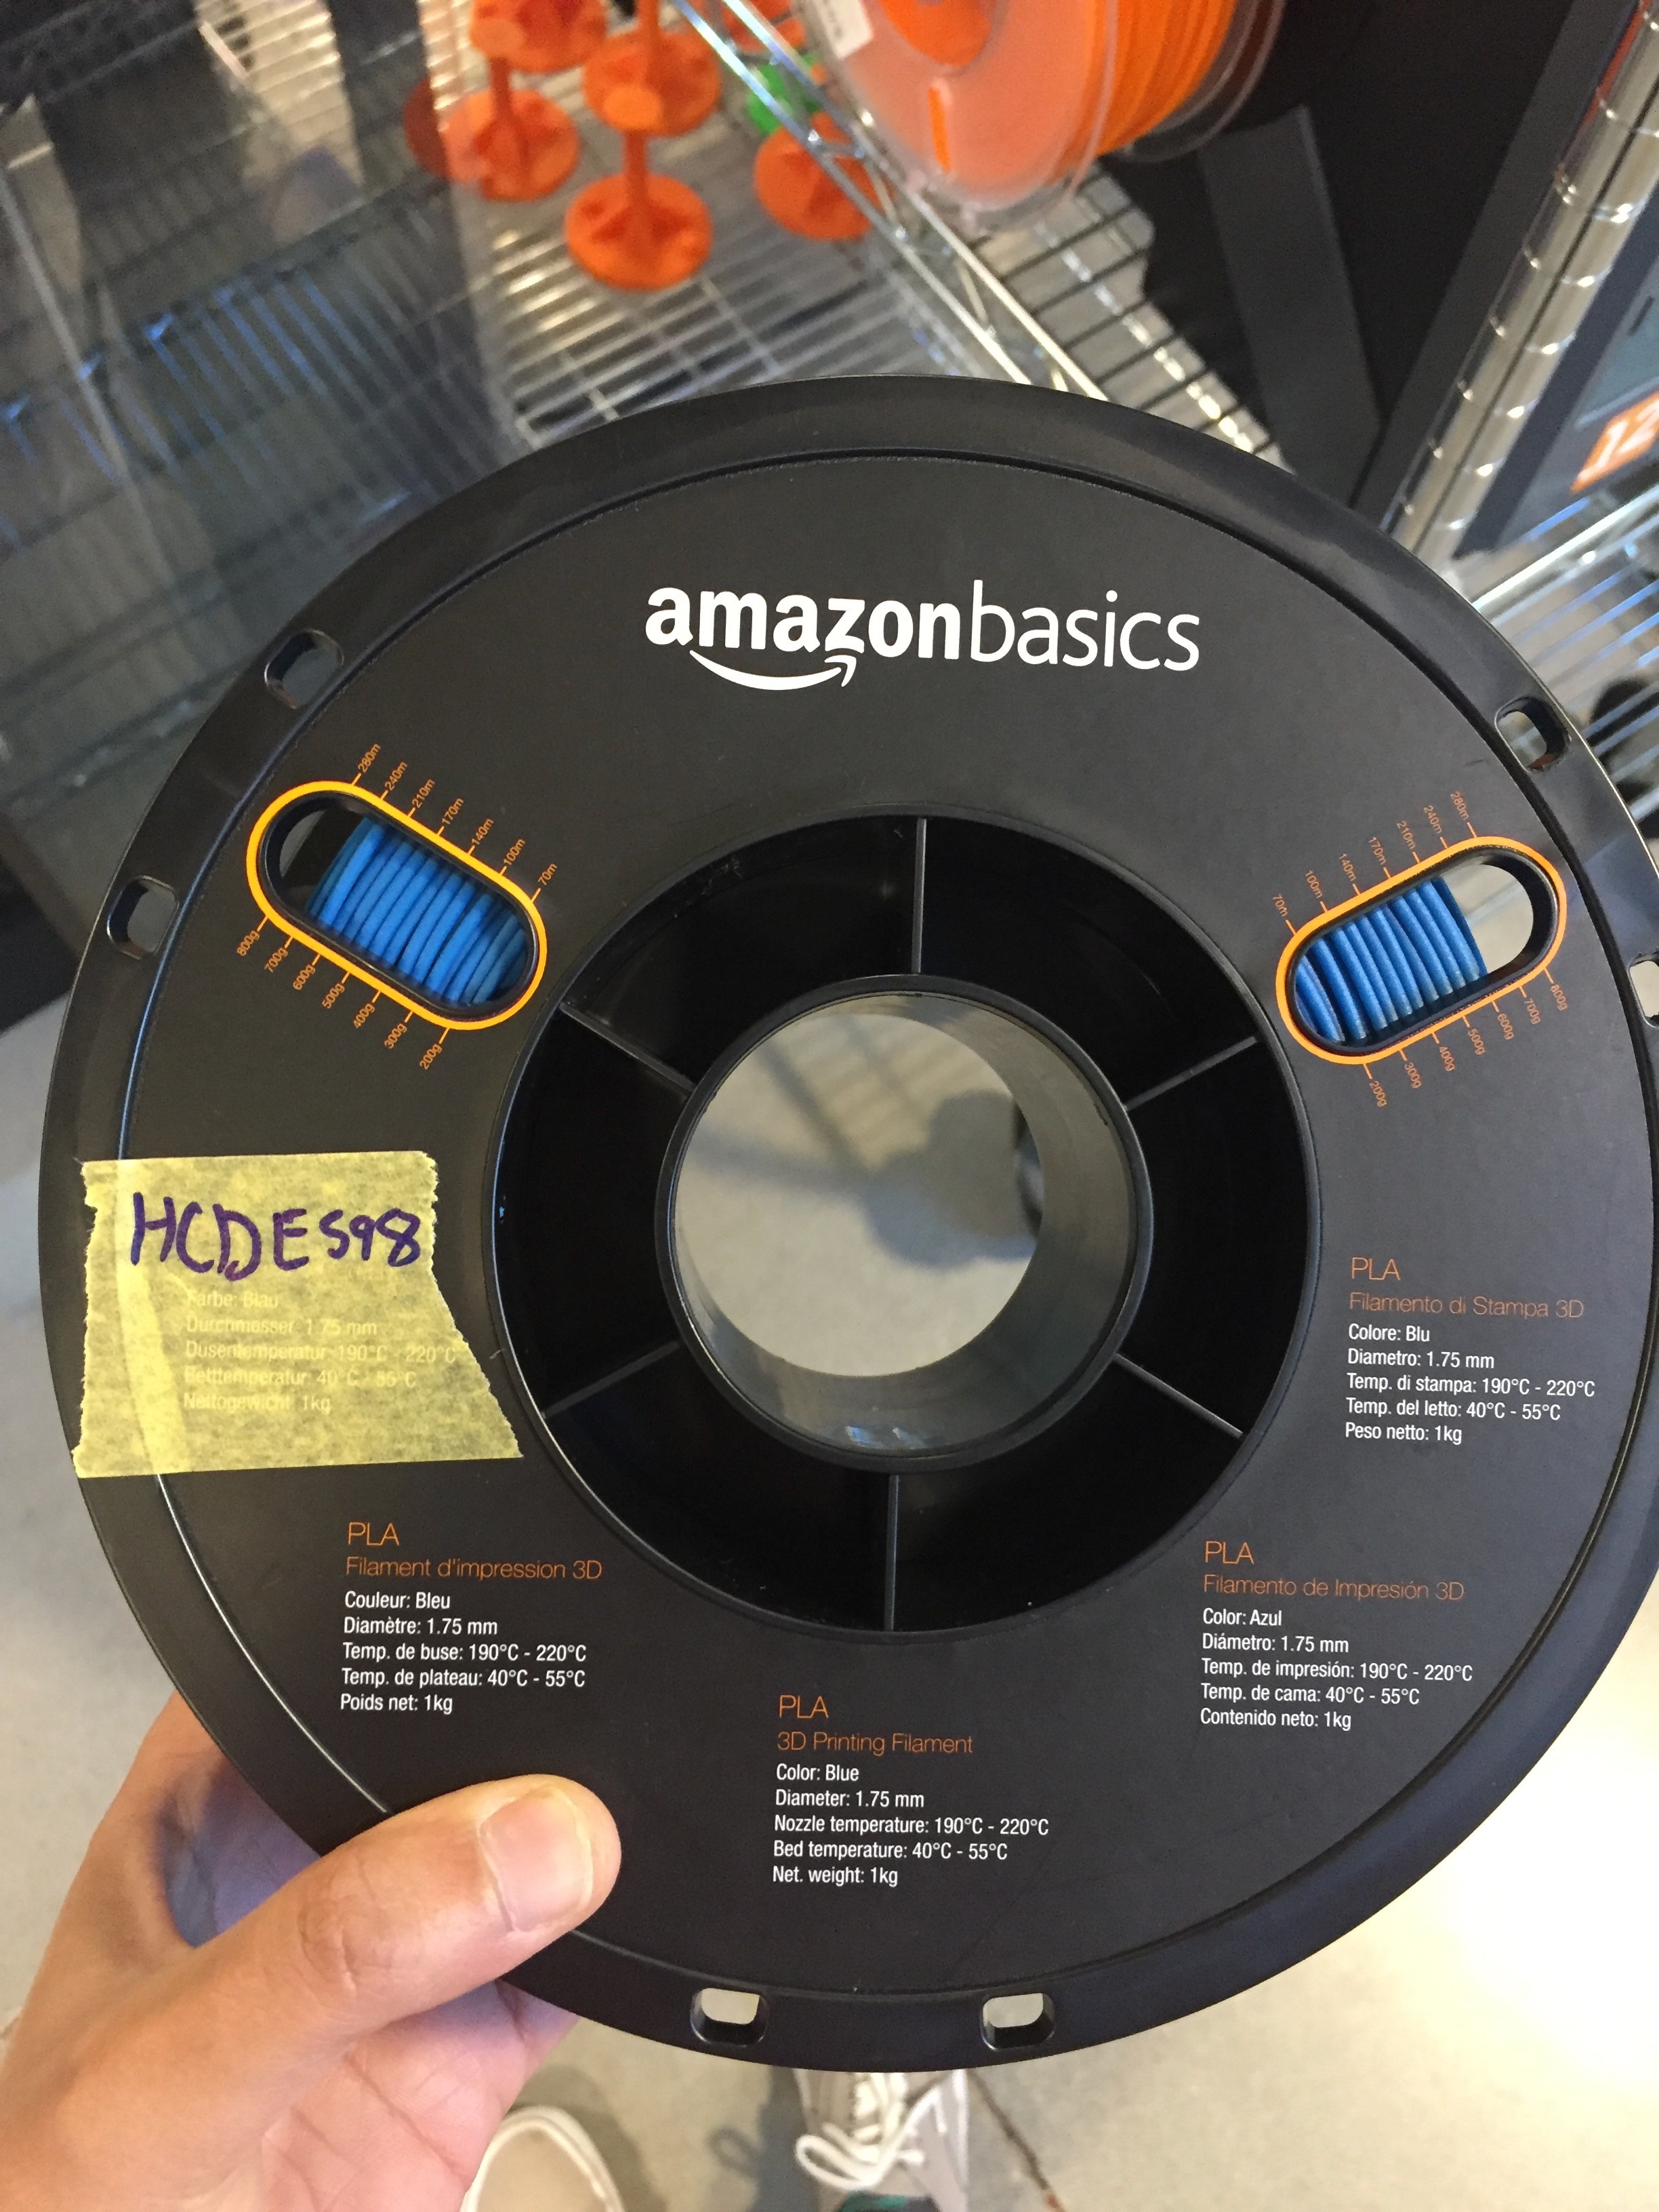
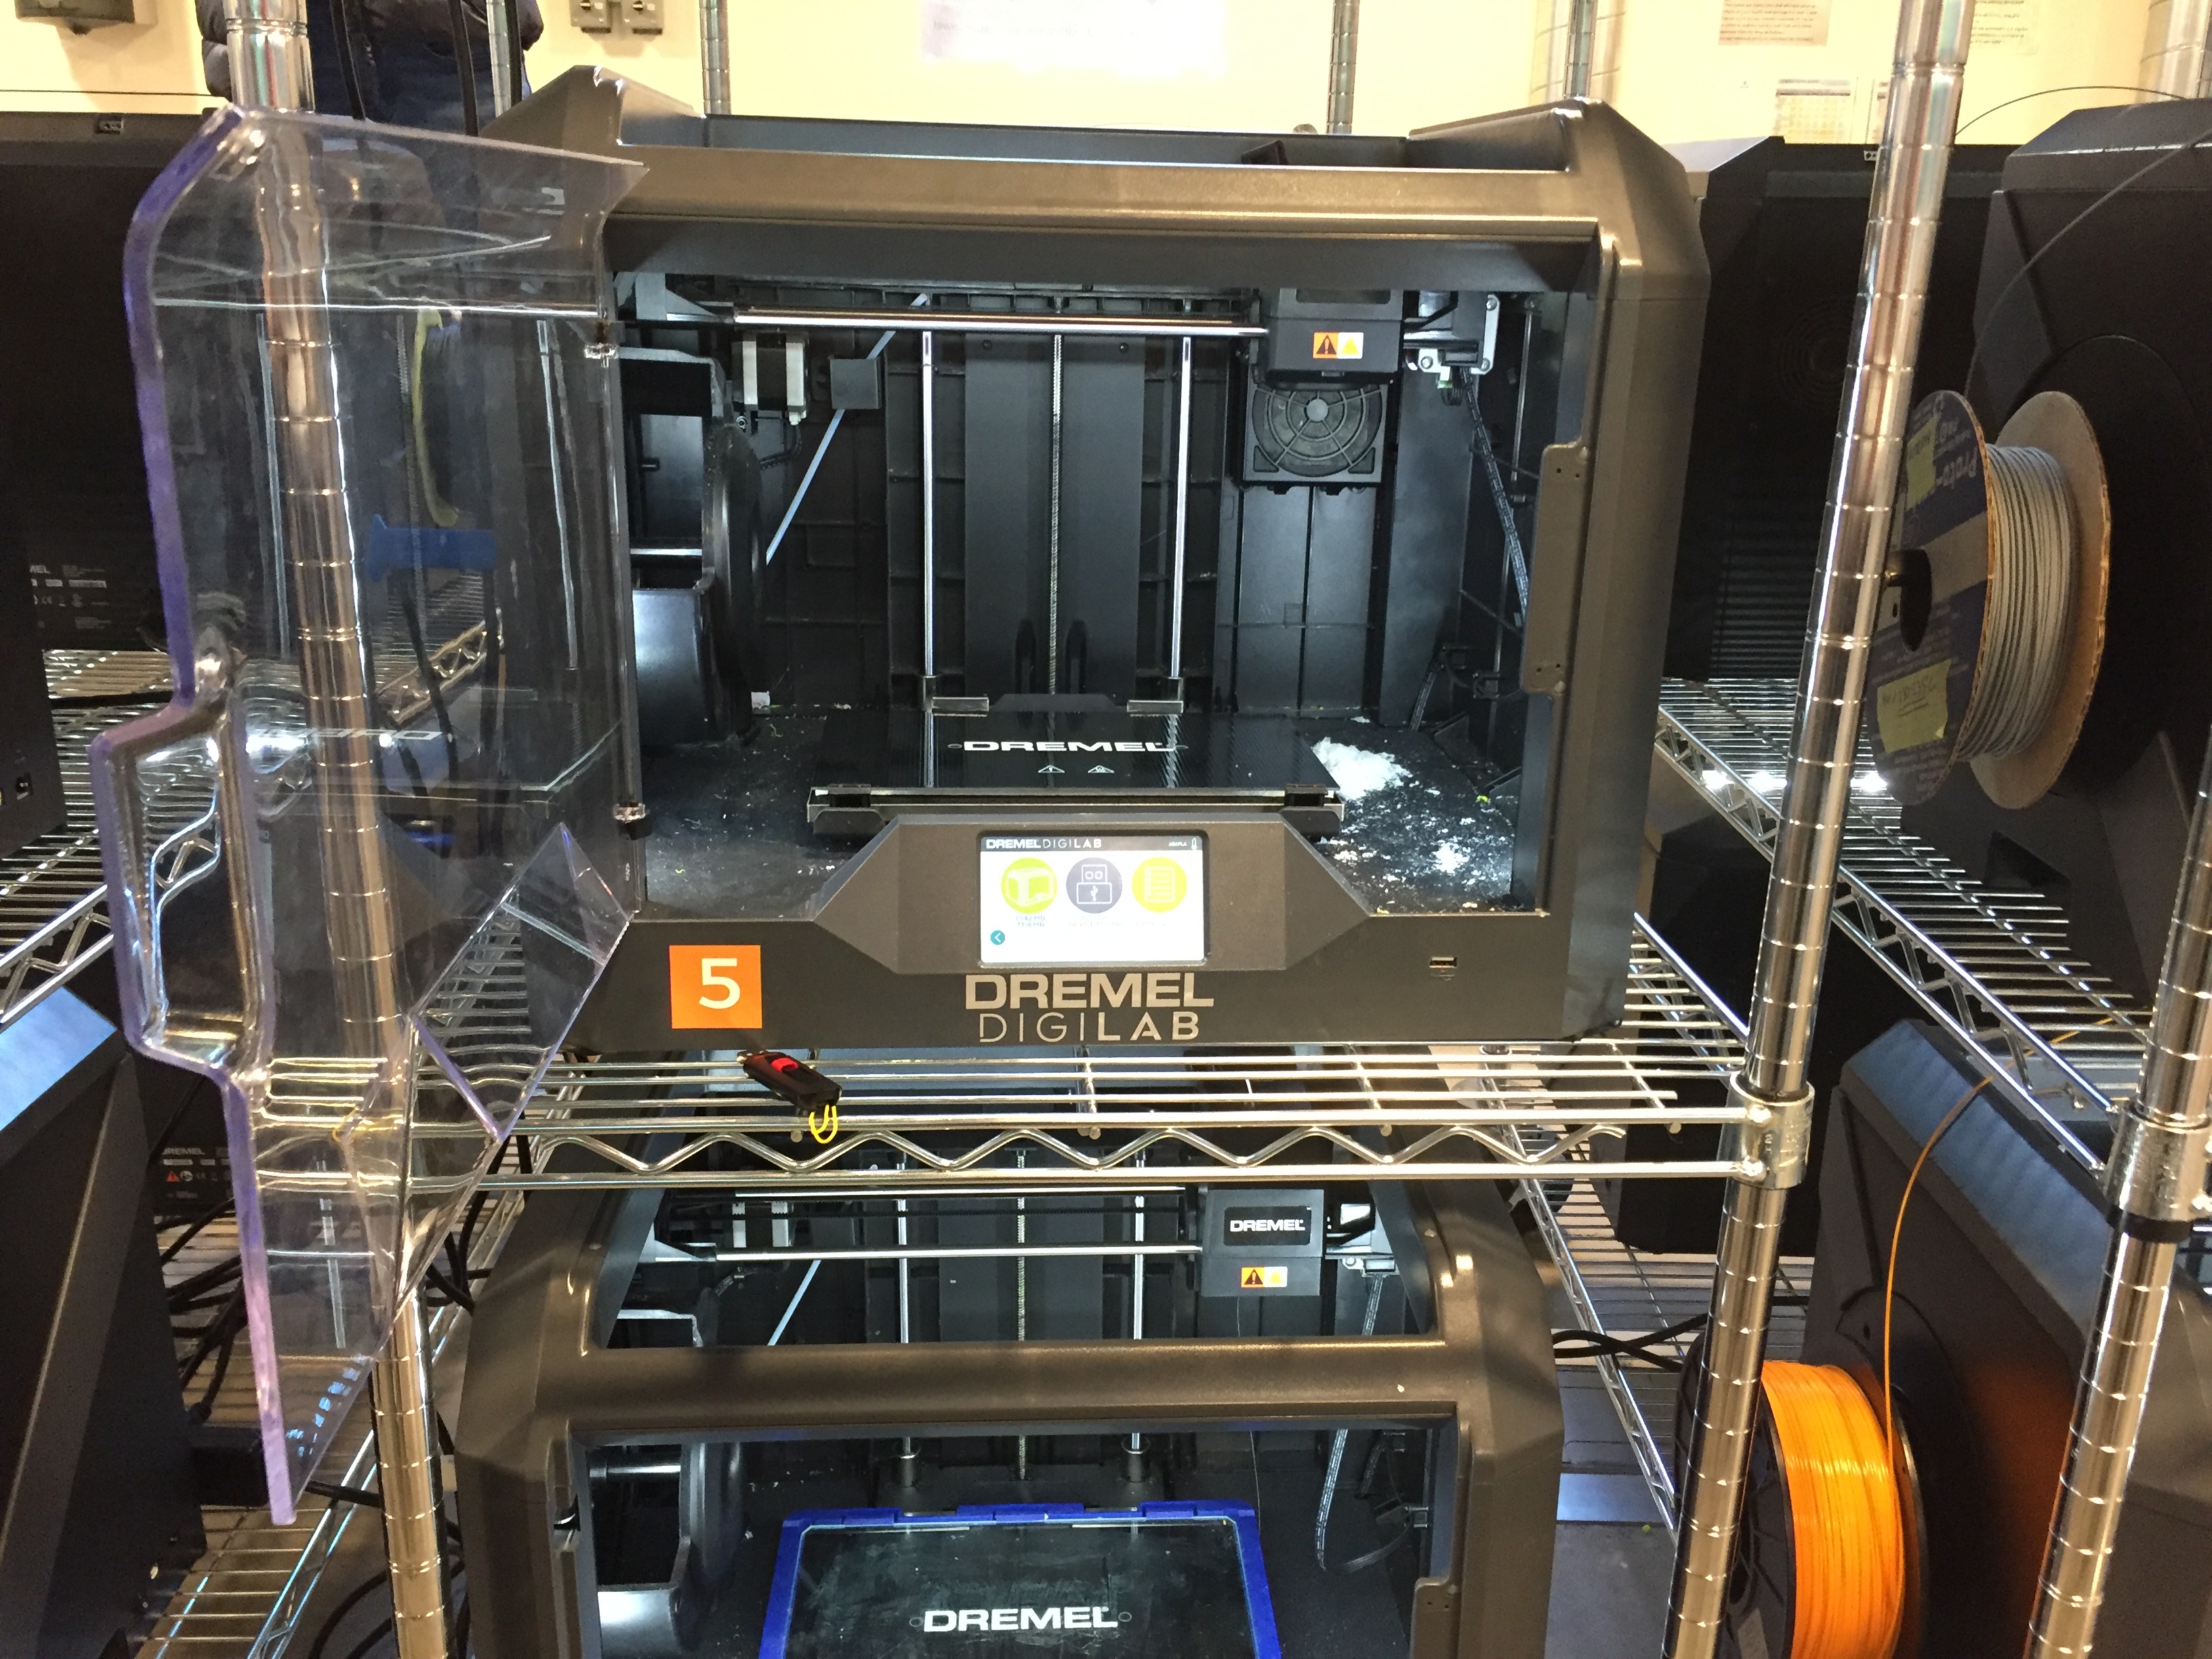
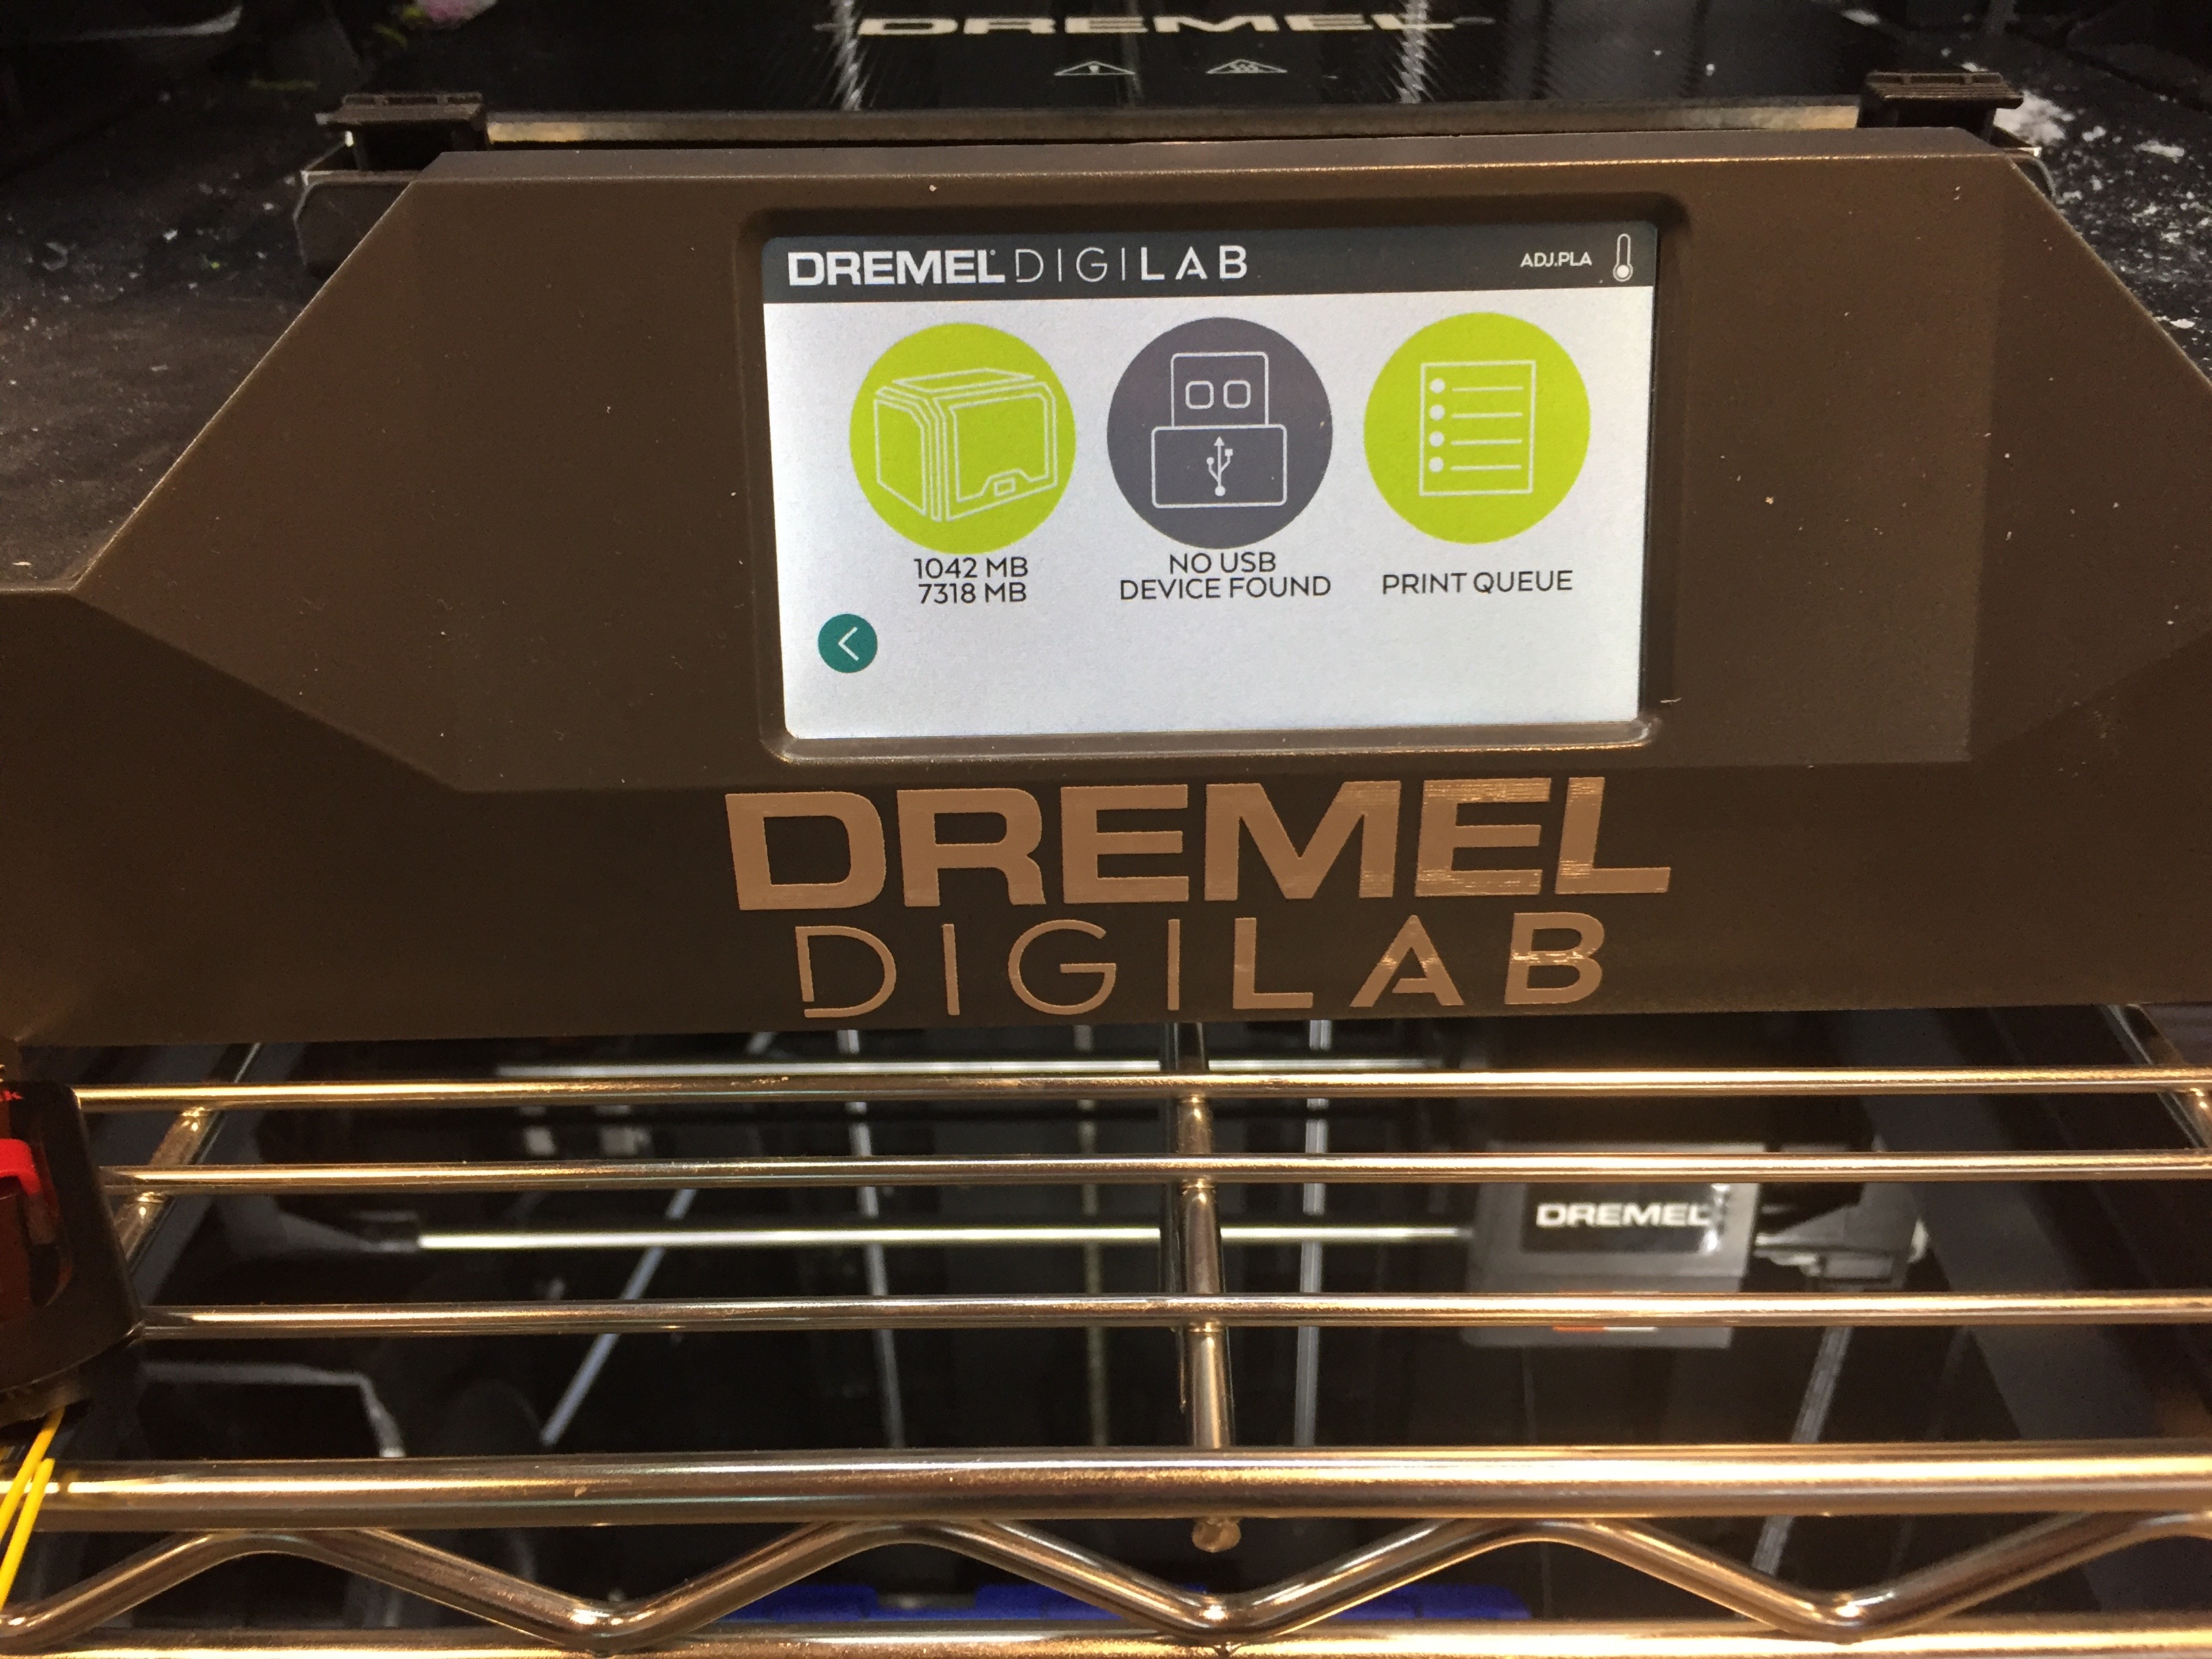
 3D Printer and settings:
 Printing in action:
 When I tried to assemble the vines with the round top, the top part of the vine near the notch became too thin and thus broke . I faced similar difficulty when connecting the 3d printed pentagons to the base of the vines. I later found out that the thickness of the acrylic sheet varied across its length, because of which some notches became too big, while others were too small and led to slipping off of the pieces.
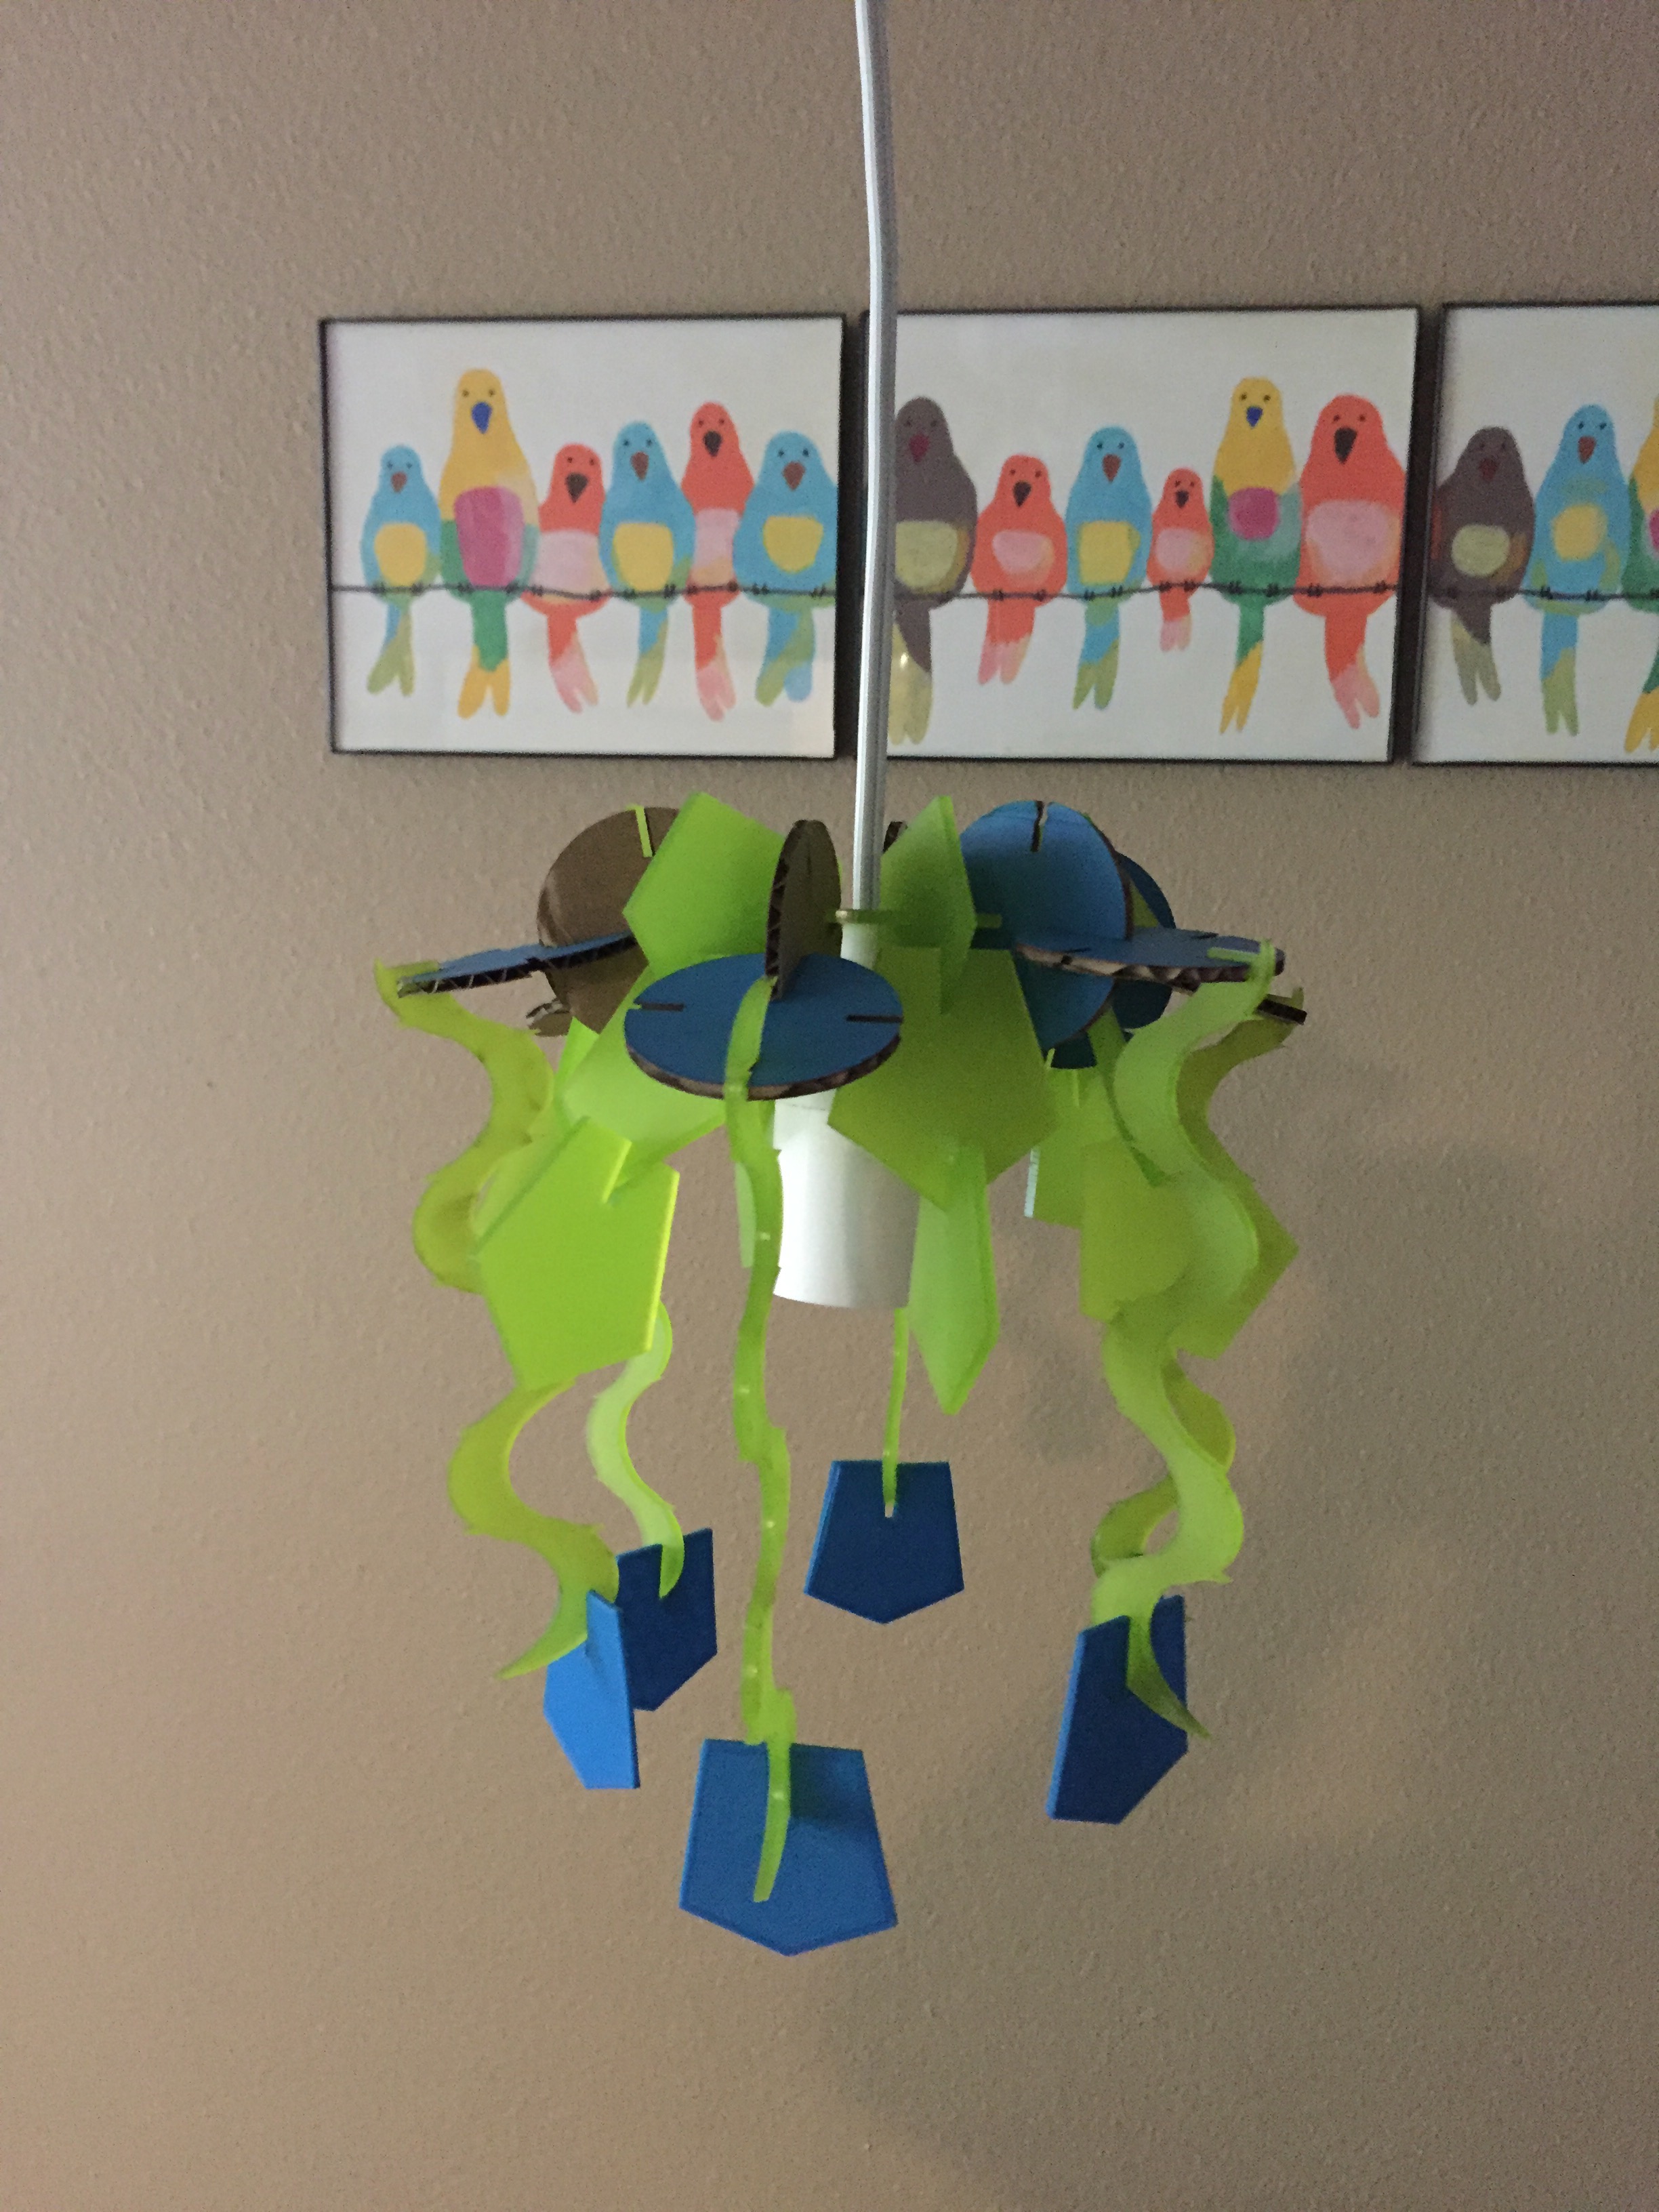
 Because of the breaking and parts falling off of the vines, I had to rethink the whole design and because I had so many parts that were either too big or too small, I used pieces from my previous assignment which perfectly fit the notch size in the acrylic sheet cut round top.
I also modified the design to add only 6 vines as the rest broke while assembling, so I added the pantagons on the remaining 6 notches and created alternate hanging pentagons.
Assembled lamp:
Because of the breaking and parts falling off of the vines, I had to rethink the whole design and because I had so many parts that were either too big or too small, I used pieces from my previous assignment which perfectly fit the notch size in the acrylic sheet cut round top.
I also modified the design to add only 6 vines as the rest broke while assembling, so I added the pantagons on the remaining 6 notches and created alternate hanging pentagons.
Assembled lamp:
 Though this was not the anticipated outcome, I did learn quite a lot while working on the assignment.
Things to consider next time:
1. Keep the fragility of material in mind while creating shapes.
2. Keep a reasonable space between a notch and overall shape.
3. Be flexible and use the tool that best suits your design, keeping in mind the time constraints.
Thanks to Dhwani for helping with the preparation of file to 3d print and to the Mill staff for all the help with the 3d printer.
Source Files:
Illustrator File for laser cutter
3D Printer input file
Though this was not the anticipated outcome, I did learn quite a lot while working on the assignment.
Things to consider next time:
1. Keep the fragility of material in mind while creating shapes.
2. Keep a reasonable space between a notch and overall shape.
3. Be flexible and use the tool that best suits your design, keeping in mind the time constraints.
Thanks to Dhwani for helping with the preparation of file to 3d print and to the Mill staff for all the help with the 3d printer.
Source Files:
Illustrator File for laser cutter
3D Printer input file